
By going to MailPoet > Subscribers page, you’ll be able to see the list of all subscribers you have in the MailPoet plugin.

Understanding the subscriber’s status
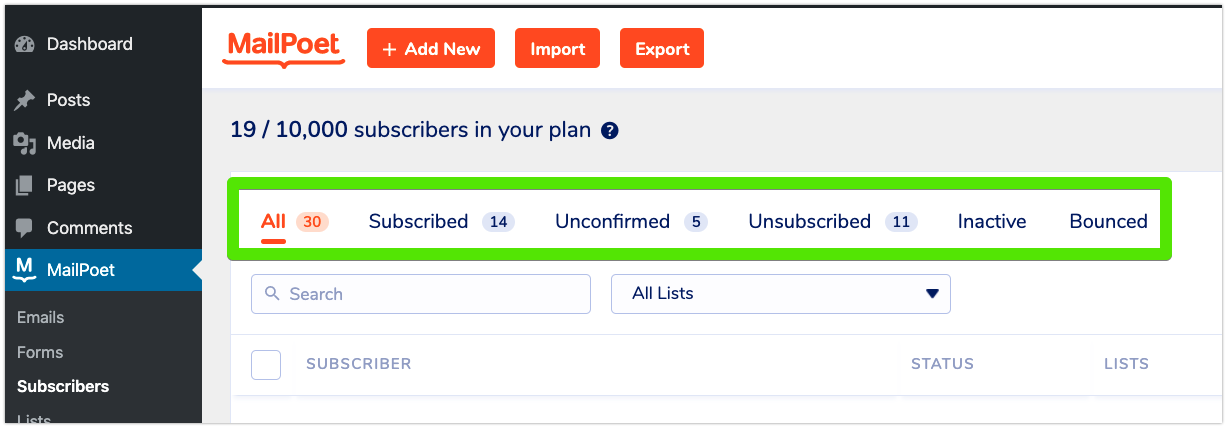
- All: The sum of all subscribers with the status “Subscribed”, “Unconfirmed”, “Unsubscribed”, Inactive”, and “Bounced”.
- Subscribed: Active subscribers that are added to the mailing list and can receive newsletters from you.
- Unconfirmed: Subscribers that subscribed to your newsletters but haven’t confirmed their subscription yet. Unconfirmed subscribers won’t receive any newsletter from you until they do it.
- Unsubscribed: Subscribers that were added to the mailing list but no longer want to receive your emails.
- Inactive: Subscribers that haven’t opened your emails for X months (according to the settings you have for the Inactive Subscribers Feature). MailPoet automatically stops sending emails to your inactive subscribers after they’re marked as Inactive.
- Bounced: Subscribers marked as hard bounced emails by our Bounce Management or manually marked as invalid by the website’s owner. Once the subscriber is marked as Bounced, MailPoet will stop sending emails to them.
- Trash: where all deleted users are moved to before being permanently deleted from your database.
Click a status tab to show only the subscribers with that status. The number on each tab is the total for your whole site, so it stays the same when you search or filter the list.
Search for a subscriber
Search for a subscriber by typing part of their email address, first name, or last name. The text can match any part of the field, so searching for doe finds jane.doe@yourgroovydomain.com and a subscriber with the last name Doe.
To search for a subscriber, follow these steps:
- Go to MailPoet → Subscribers.
- Type part of an email address or name in the Search field above the subscriber list.
The list updates to show the matching subscribers. Search works together with the status tab and filters you have selected, so you can look up an email address inside a single list.
Filter and sort the subscriber list
Filters narrow the subscriber list by status, list, tag, source, engagement score, or date. Sorting reorders the list by a column, such as the date a subscriber was created.
You can filter the subscriber list by the following:
- Status: the subscriber’s status, such as Subscribed or Unconfirmed. Clicking a status tab sets this filter.
- Lists: the lists the subscriber is subscribed to.
- Tags: the tags on the subscriber’s profile.
- Source: how the subscriber was added, such as a MailPoet subscription form, an import, WooCommerce checkout, or WordPress user sync.
- Score: the subscriber’s engagement score, above, below, or between the values you set. This filter appears only when engagement analytics tracking is on.
- Subscribed on and Created on: the date the subscriber last subscribed, or the date they were added to MailPoet.
The status, list, tag, and source filters can include or exclude the values you pick. For example, you can show every subscriber who is not on a list.
To filter the subscriber list, follow these steps:
- Go to MailPoet → Subscribers.
- Choose one or more values in the Lists or Status filter above the subscriber list.
- To filter by tag, source, score, or date, click “Add filter” and choose the filter and its values.
The list shows only the subscribers who match every filter you set. MailPoet clears your filters when you leave the Subscribers page.
To sort the list, click the Subscriber, Status, Score, “Subscribed on“, or “Created on” column heading and choose an order. Until you pick a column, the list is sorted by Created on.

How MailPoet counts the total subscribers for plans
Since we charge our customers by the number of subscribers they have on their MailPoet’s lists, it does not matter to our service if you are just sending to a list with just a few subscribers.
Reaching the subscriber’s limit
If you’ve reached the subscriber’s limit for your current sending plan, you will see a warning message like this:
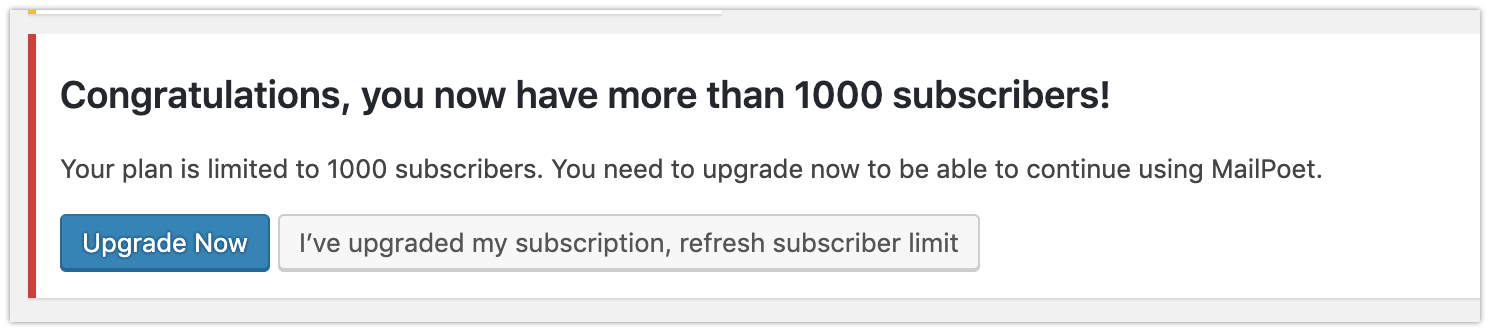
In order to keep sending with us, you have two options:
- Upgrade your MailPoet sending plan to a higher one;
- Delete subscribers or switch them to Unsubscribed to keep the number of total subscribers under your plan’s limit. We suggest deleting the Unconfirmed subscribers older than 2 weeks and the Inactive subscribers since you’re already not sending newsletters to them. Then the next time your sending limit stats are synced with our service, sending will be restored.
- There are bulk administrator actions that can be used to manage subscribers more easily
You must be logged in to post a comment.