
To send your emails from MailPoet, you’ll need to have subscribers added to a list. You can have unlimited amounts of lists!
You can see all your lists by going to your WordPress dashboard > MailPoet > Lists:

By default, when you first install the plugin, you’ll have the Newsletter mailing list, the WordPress Users list and the WooCommerce Customers list (if you have WooCommerce plugin installed).
If you mouse over the list name, you’ll see the options: Edit, Duplicate, View Subscribers and Move to trash.

Please note that if you delete a list, the subscribers added to this list won’t be deleted.
Create a List
To create a new list, simply click on the “+ New List” button and type a Name and Description (optional) for it:

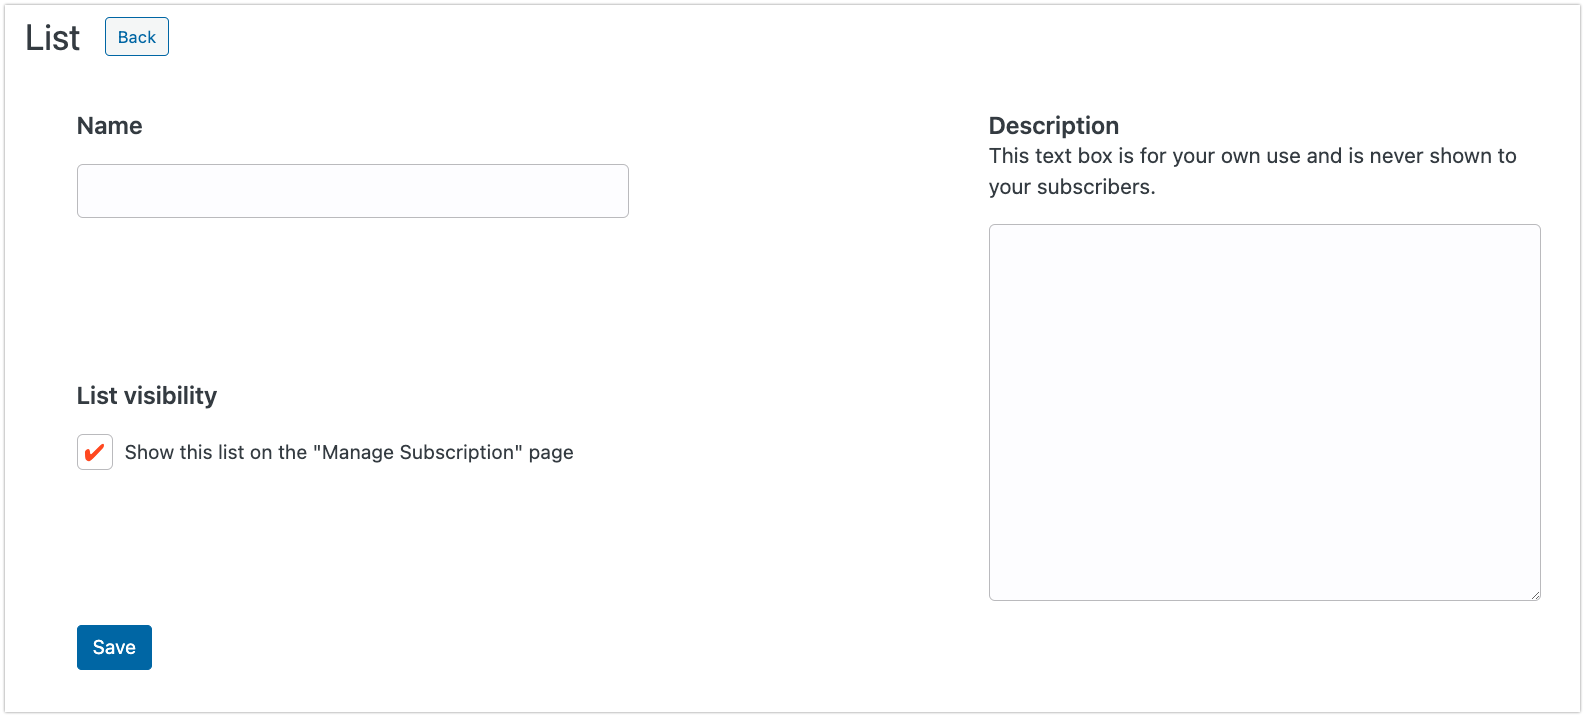
You can also check a checkbox if you want this list to be shown on the Manage Subscription page, so your subscribers can manage their subscriptions there.
Public Description
Each list has an optional Public Description field. This description is displayed to subscribers on the Manage Subscription page when the Modern style is selected. It helps subscribers understand what each list is about before choosing to subscribe or unsubscribe.
To add a public description, go to MailPoet > Lists, edit the list, and fill in the Public Description field.

The public description is separate from the regular list description. The regular description is only visible to site admins in the MailPoet dashboard. The public description is shown to subscribers on the front end.
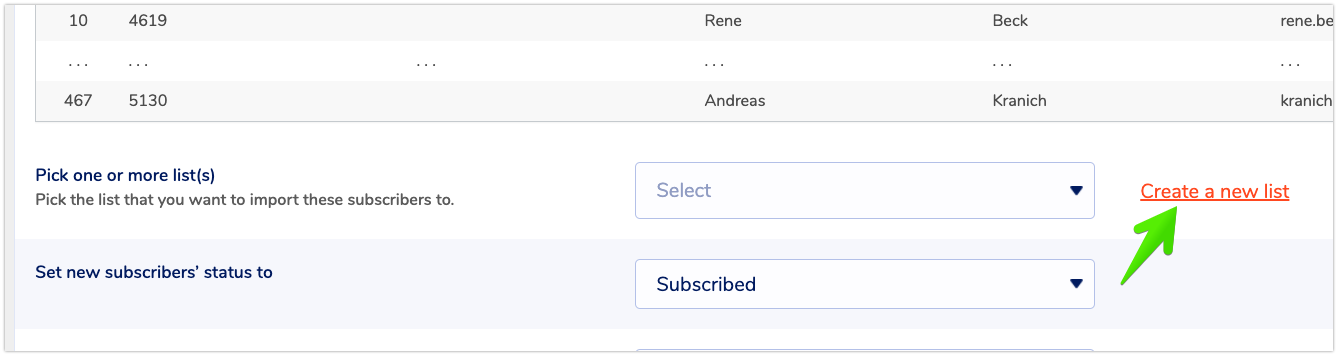
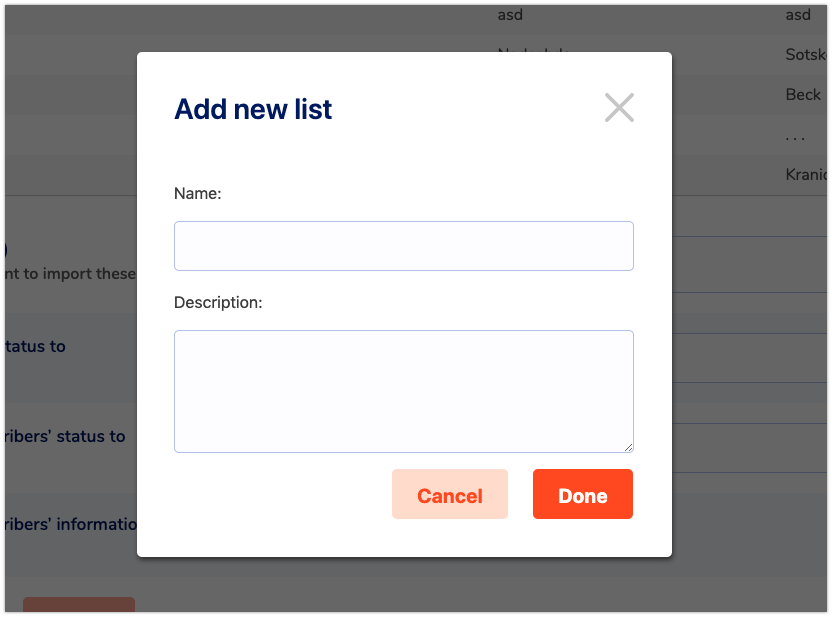
If you’re importing subscribers or migrating from MailChimp to MailPoet, you probably already have a List. When importing your list, you can add the subscribers to a MailPoet existing list or also create a new list on the last import process step:
You must be logged in to post a comment.