You can automatically send your latest published WordPress posts to your subscribers. In other plugins and services, this feature is sometimes called Post2Email or RSS-to-Email, among other names.
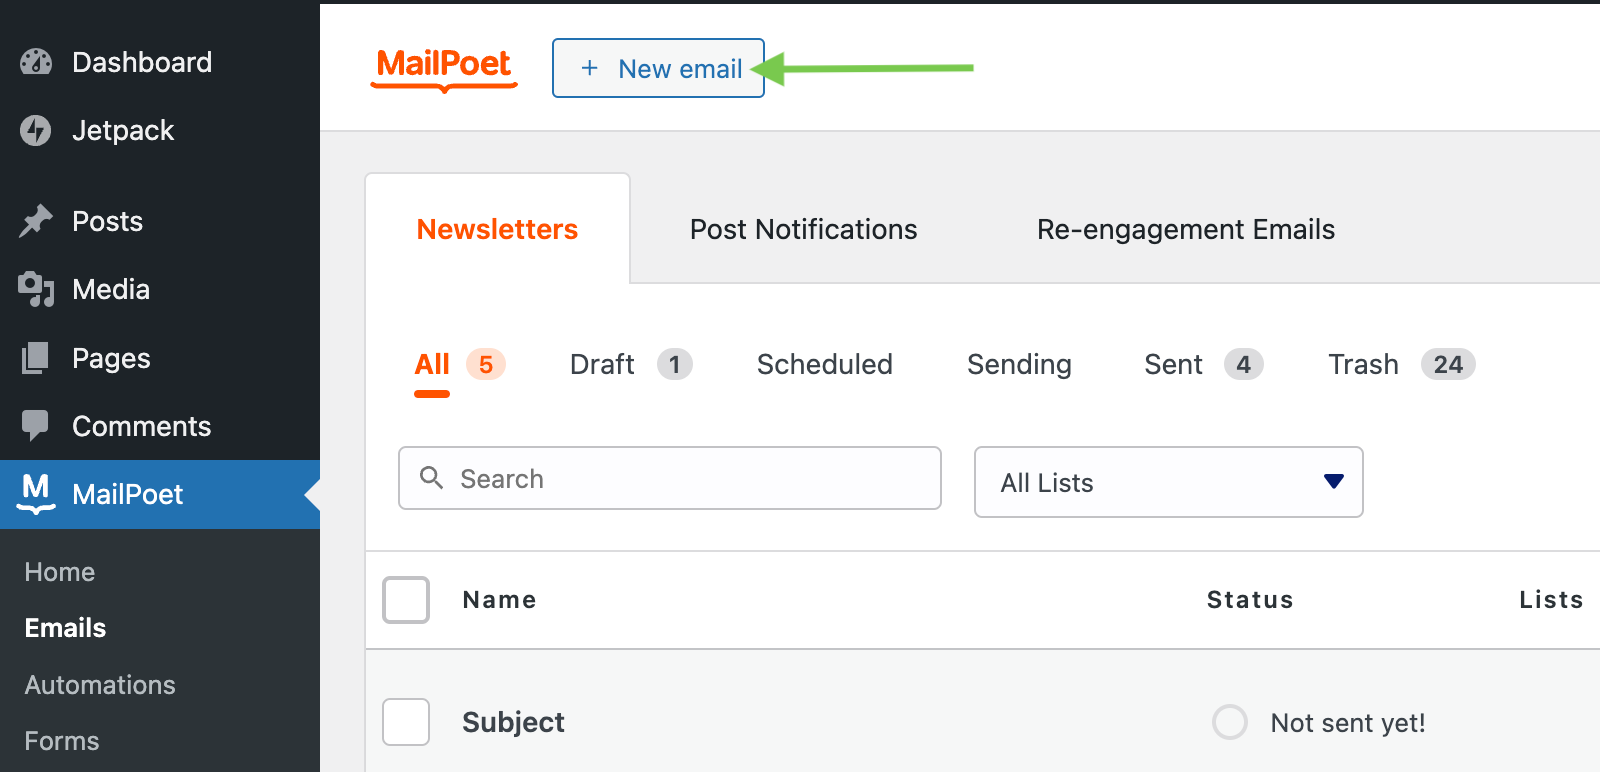
To create a new Post Notification email, go to MailPoet > Emails and click on the “+ New Email” button:
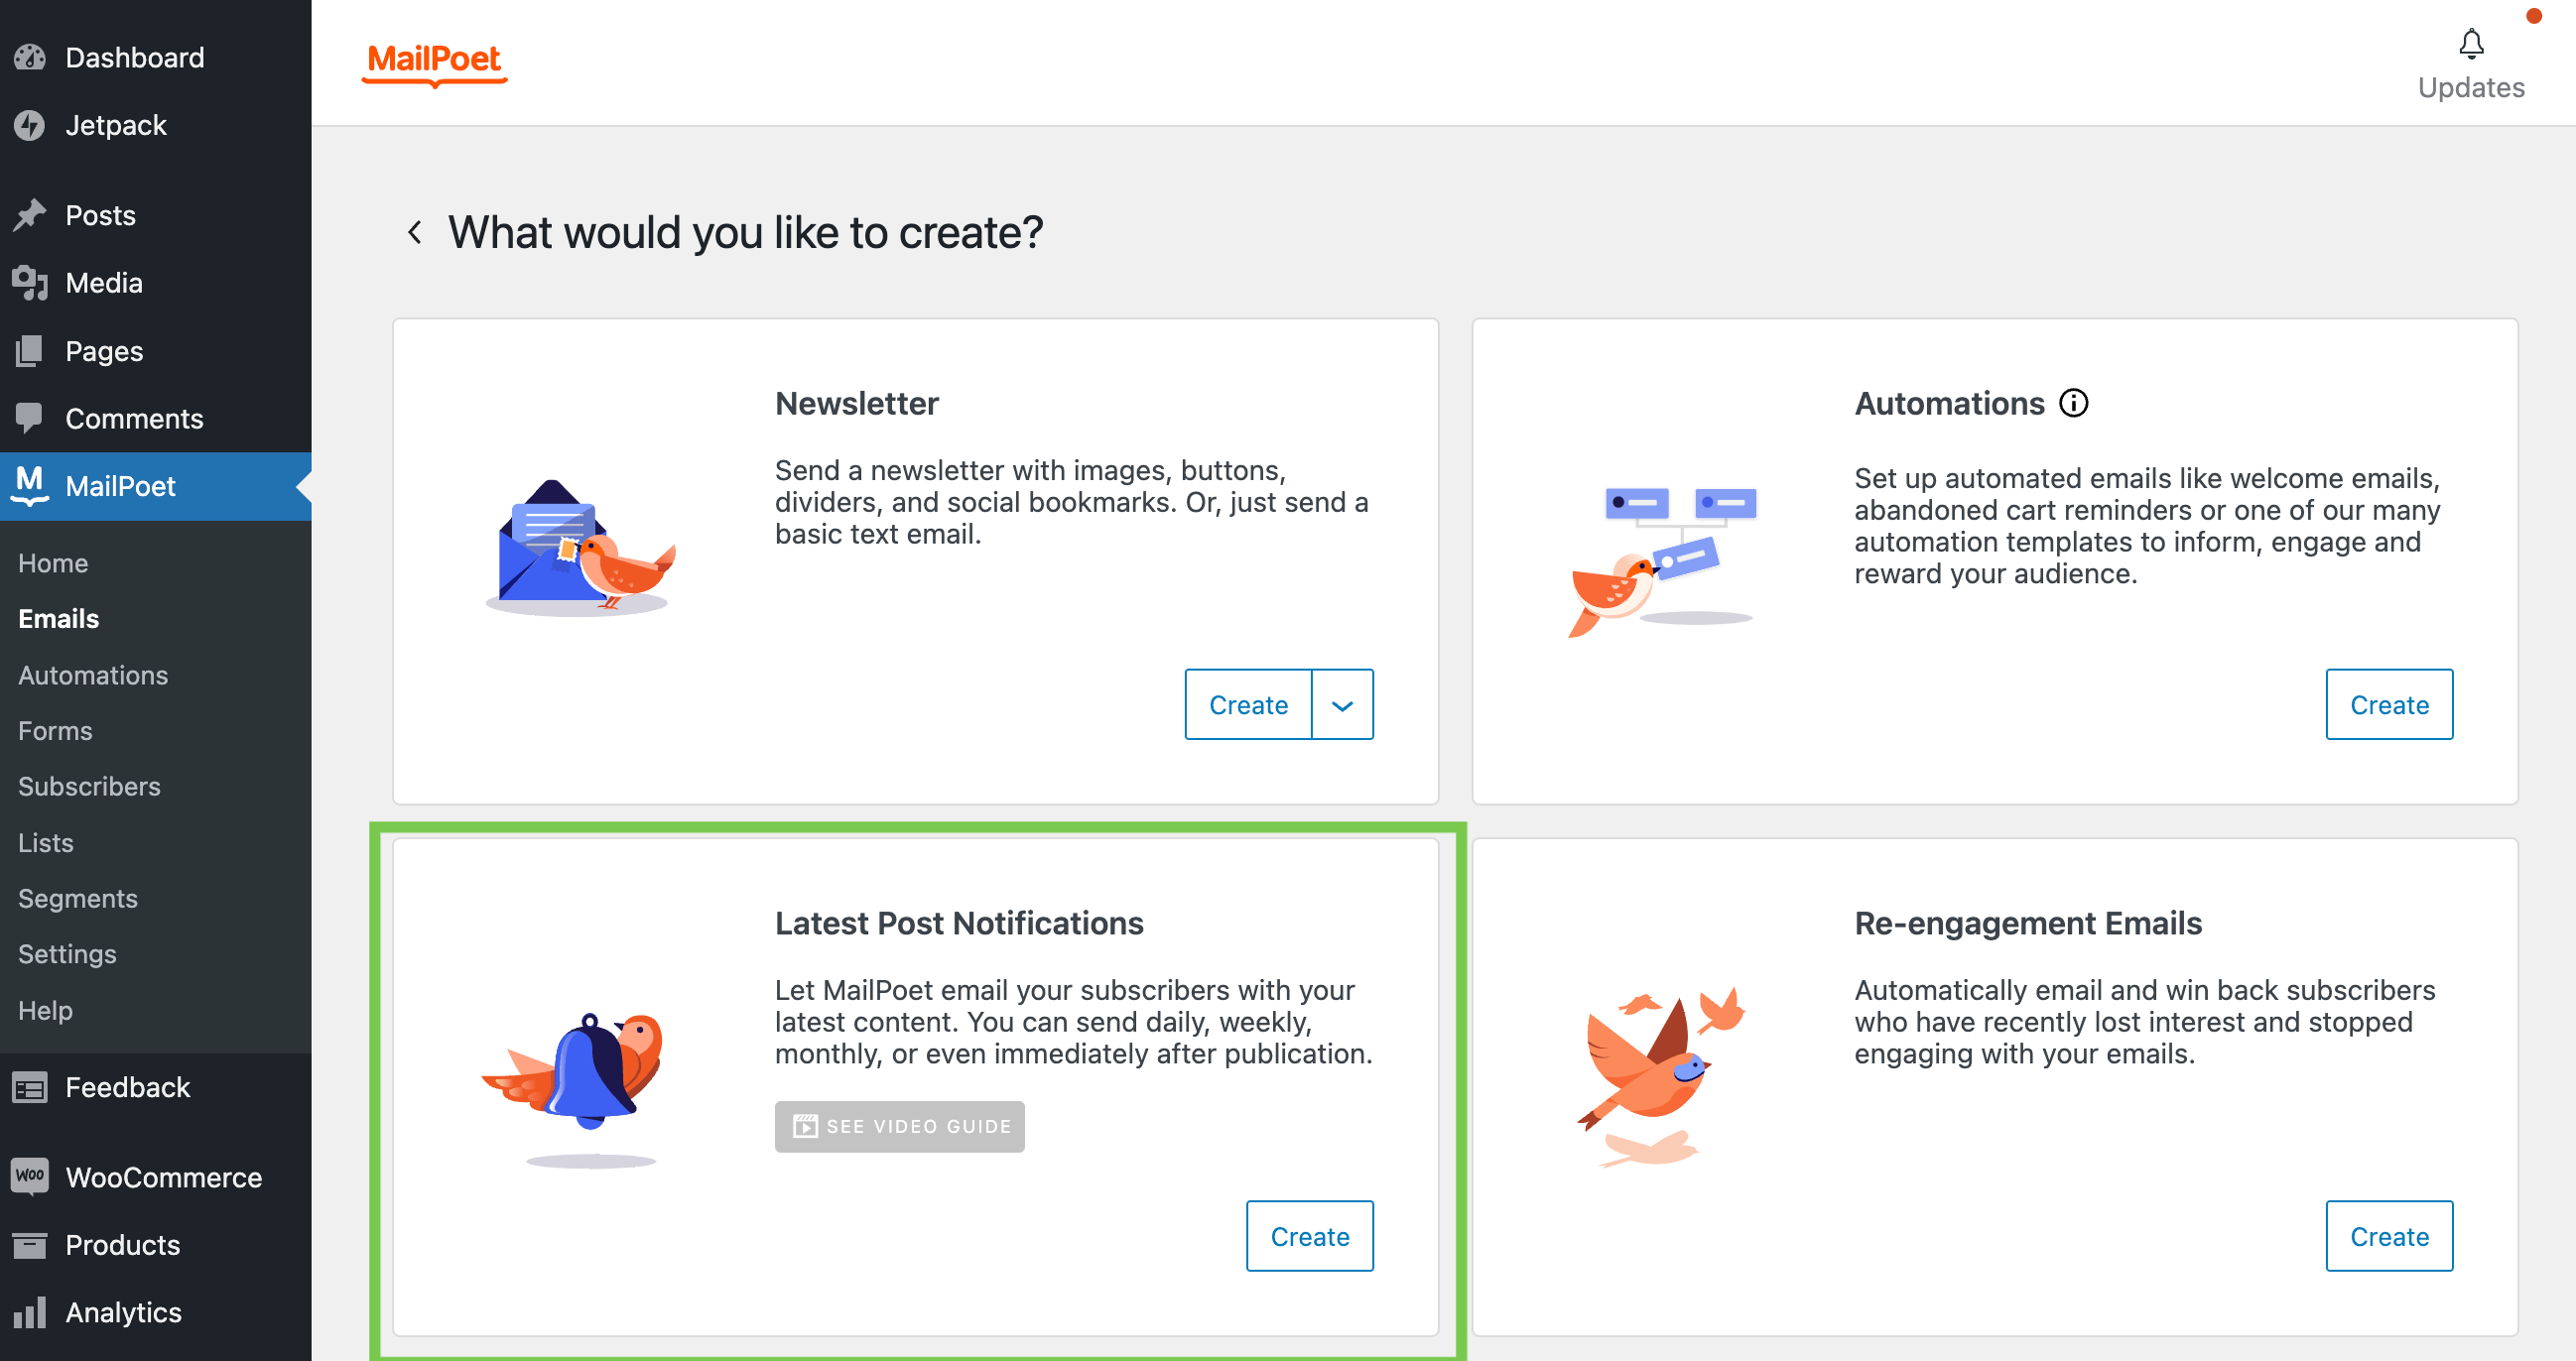
1. Select the type of newsletter
From the types of campaigns, click the “Create” button for the Latest Post Notification type:
Next, choose the frequency that you want to send the Post Notification email. You can choose to send it Immediately after the post is published, or send it once a day, once a week, monthly on a specific date (i.e. “on the 10th”), or monthly on a specific day of the month (i.e. “on the 2nd Wednesday”):

When choosing to send it immediately, you’ll send an email newsletter each and every time you publish a new post. If your publishing frequency is more than one post per day, we recommend picking a different frequency to avoid sending your subscribers too many emails (since that can lead to spam complaints). For example, it’s generally better to send a single post notification email containing three posts, rather than three separate emails in a single day. If you do decide to send multiple emails per day, you should be extra clear about that in your sign-up forms when subscribers join your list to set expectations clearly.
Note: when selecting the option “Monthly on the…” there’s not an option for 29th, 30th and 31st because of February’s 28 days. When selecting “Monthly every… 1st, 2nd, 3rd, last… Monday to Friday…”, we do not offer “4th” as an option as there might be up to 5 of the same weekday in a month, but it’s not always the case.
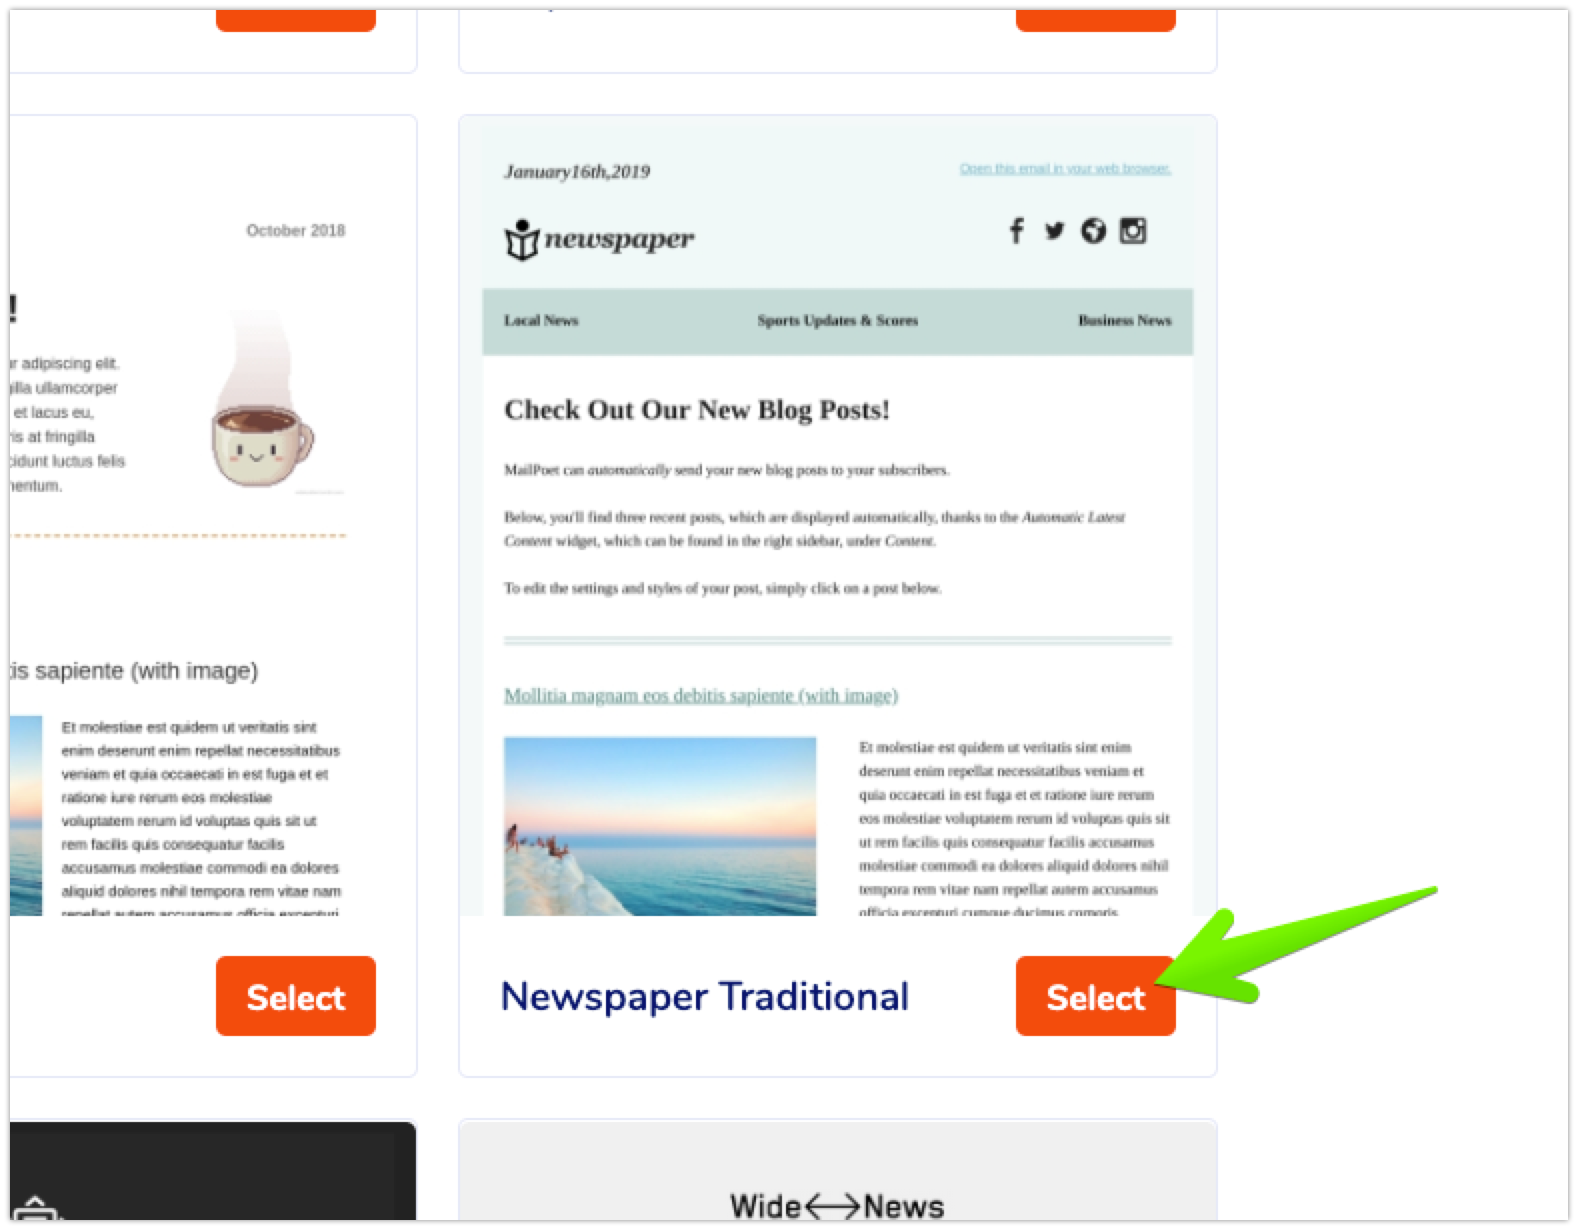
2. Select a template
You’ll then see the Templates page where you can choose a pre-defined template for your newsletter. You can use a template from a recently sent newsletter or just explore the options in the “Post Notifications” tab.
3. Design
All Post Notification emails should include an Automatic Latest Content widget.
When creating a Post Notification, all the posts you see in the Automatic Latest Content block are going to be sent in the first email.
After the first email is sent, only newly published posts will be sent. When editing an existing Post Notification after the first time sending, all the posts you see in the newsletter editor are just for illustrative purposes, and will not necessarily be included when the notification email is rendered and sent out.

After you have finished designing your newsletter, you can click on the “Next” button if you’re ready to move on to the last step page.
Please note you can also preview your newsletter before sending it, save it as a template, or just close the window if you don’t want to take any action at the moment.
4. Activate it or save it as a draft
On the last step page, you can see all the settings related to your newsletter:
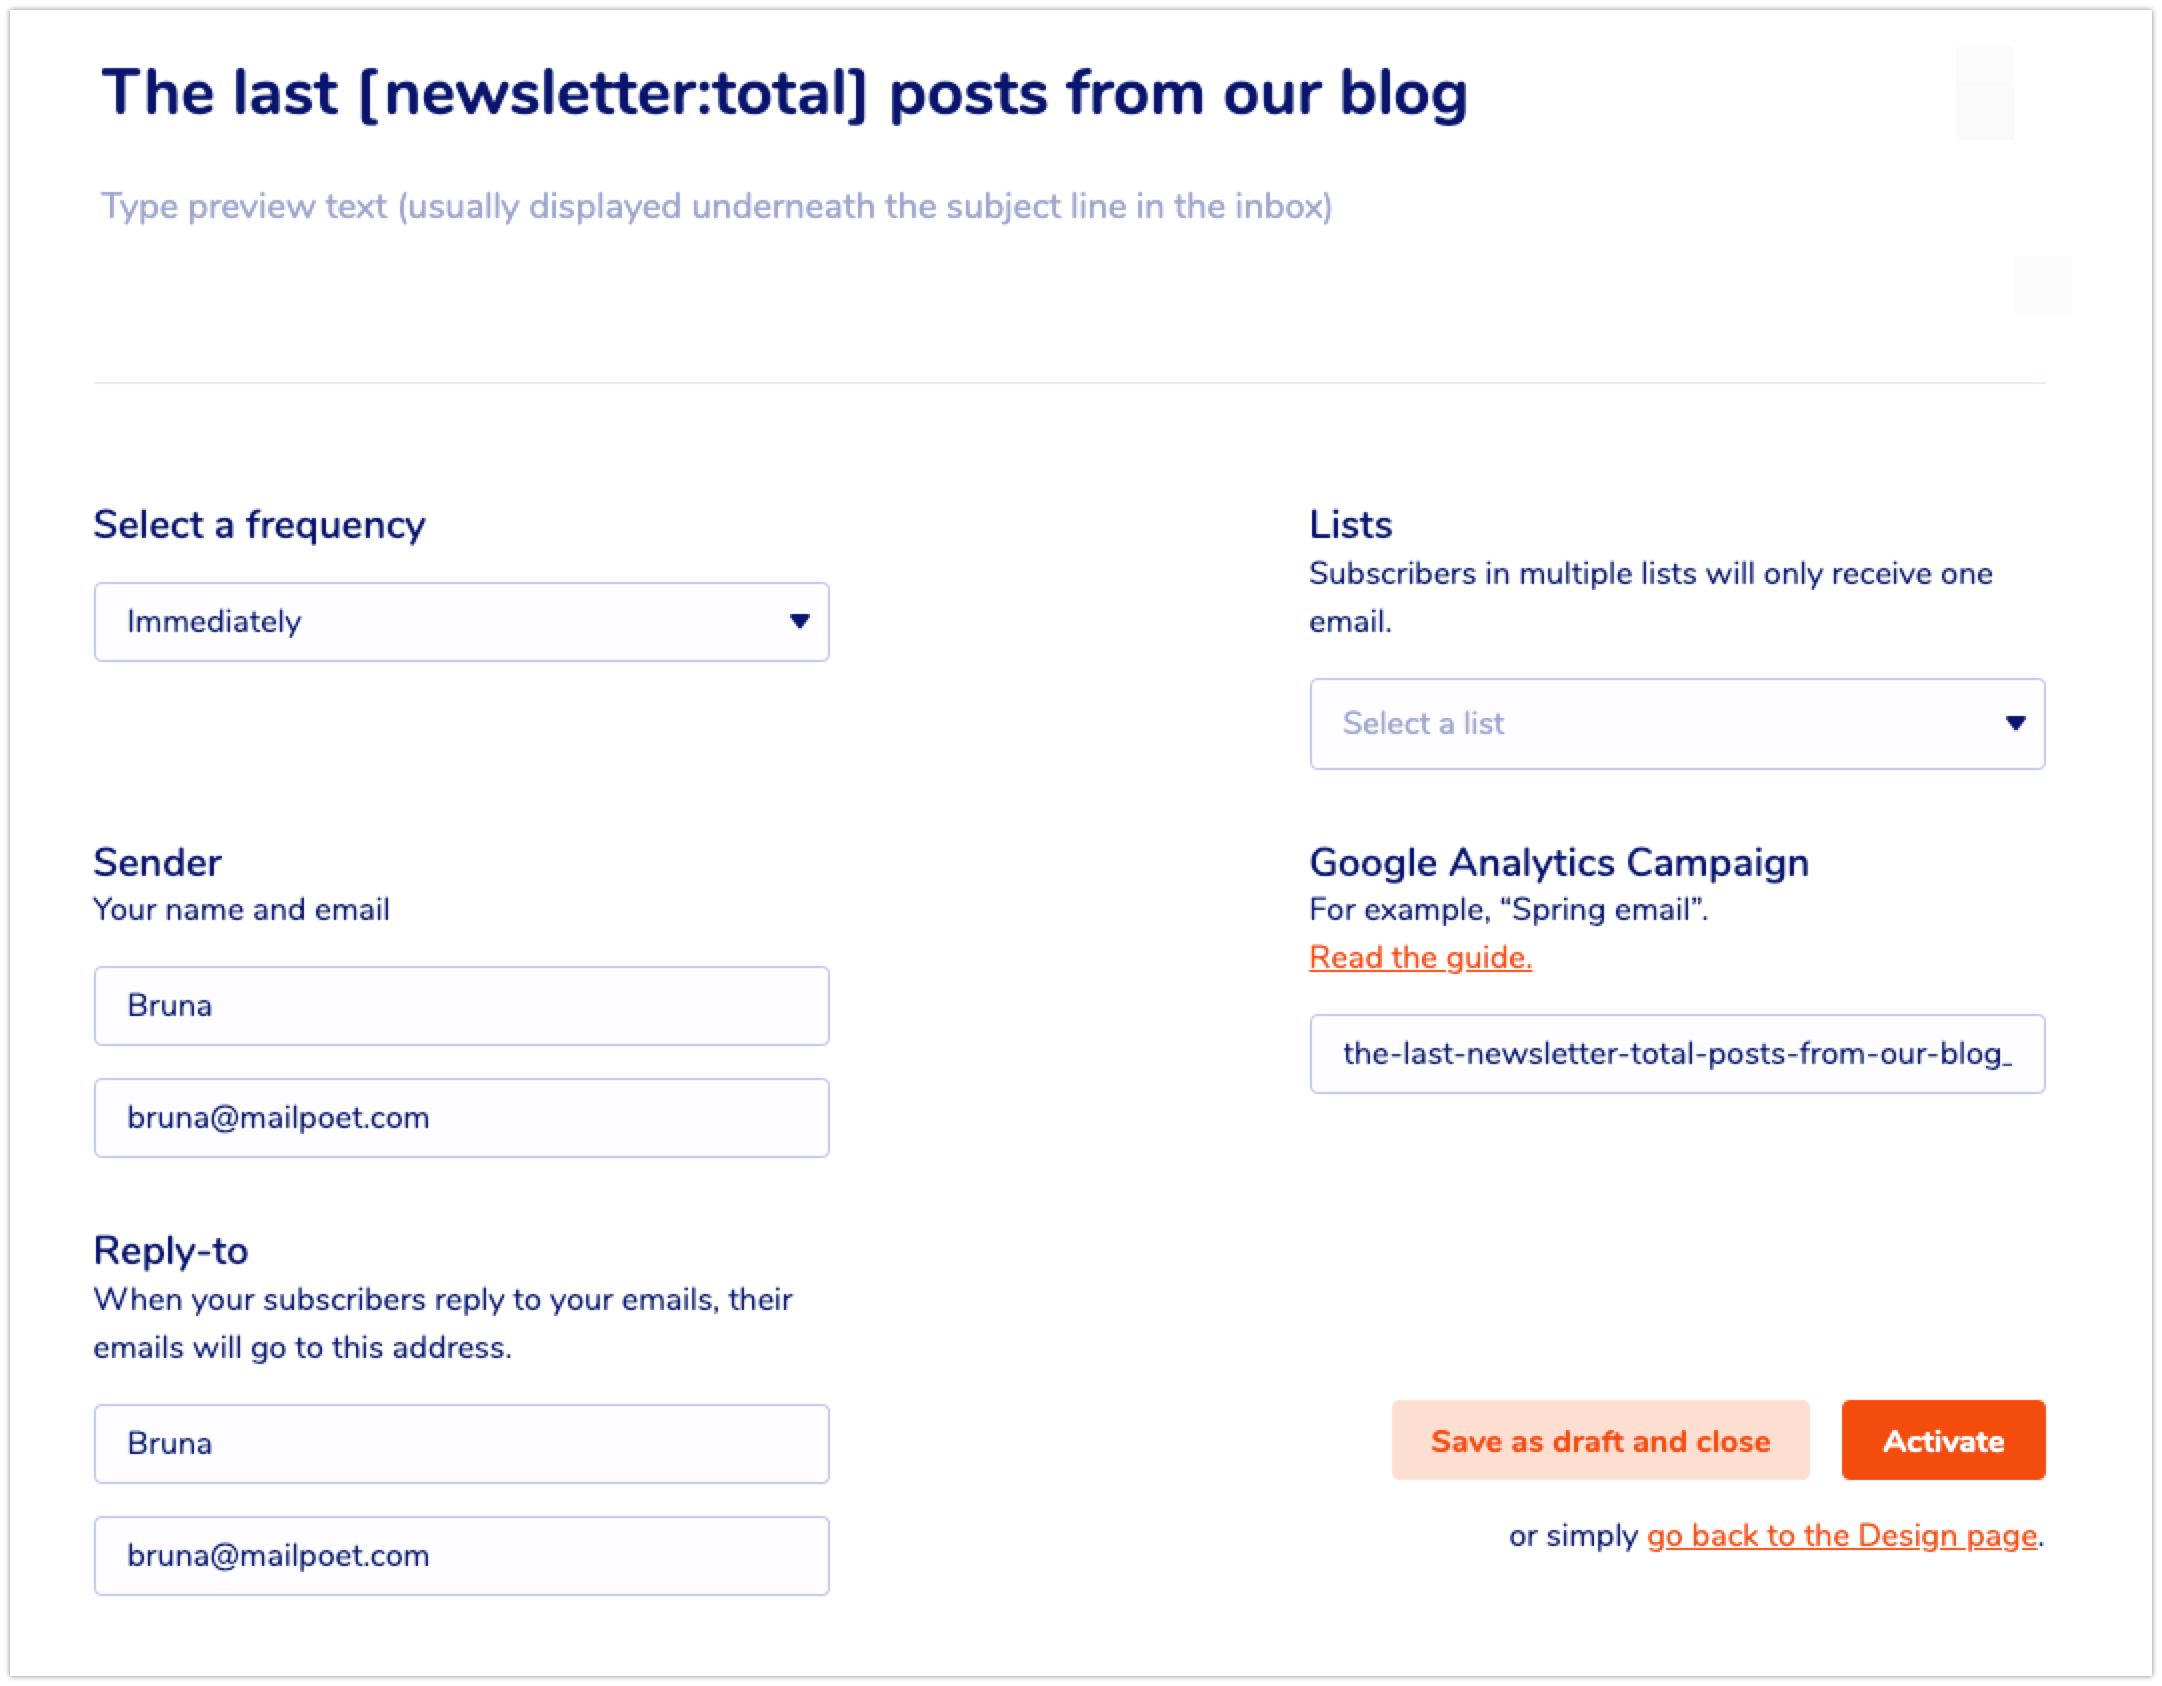
- review when the newsletter will be sent;
- set up the Sender and Reply-to names and email addresses (by default, you’ll see the ones you’ve set it in the Basics tab);
- select a List the emails will be sent to;
- track the newsletter’s subscribers in Google Analytics.
If you click on the “Activate” button, the first Post Notification will be sent with the posts displayed in the editor.
After the first email has been sent, the Post Notification will be triggered again only when new posts are published.
Updating a post doesn’t trigger the Post Notification. If you want to re-send an already published post, you’ll need to publish it as a new post.
If you save it as a draft, you can find your draft later under MailPoet > Emails > Post Notifications and continue to edit it.
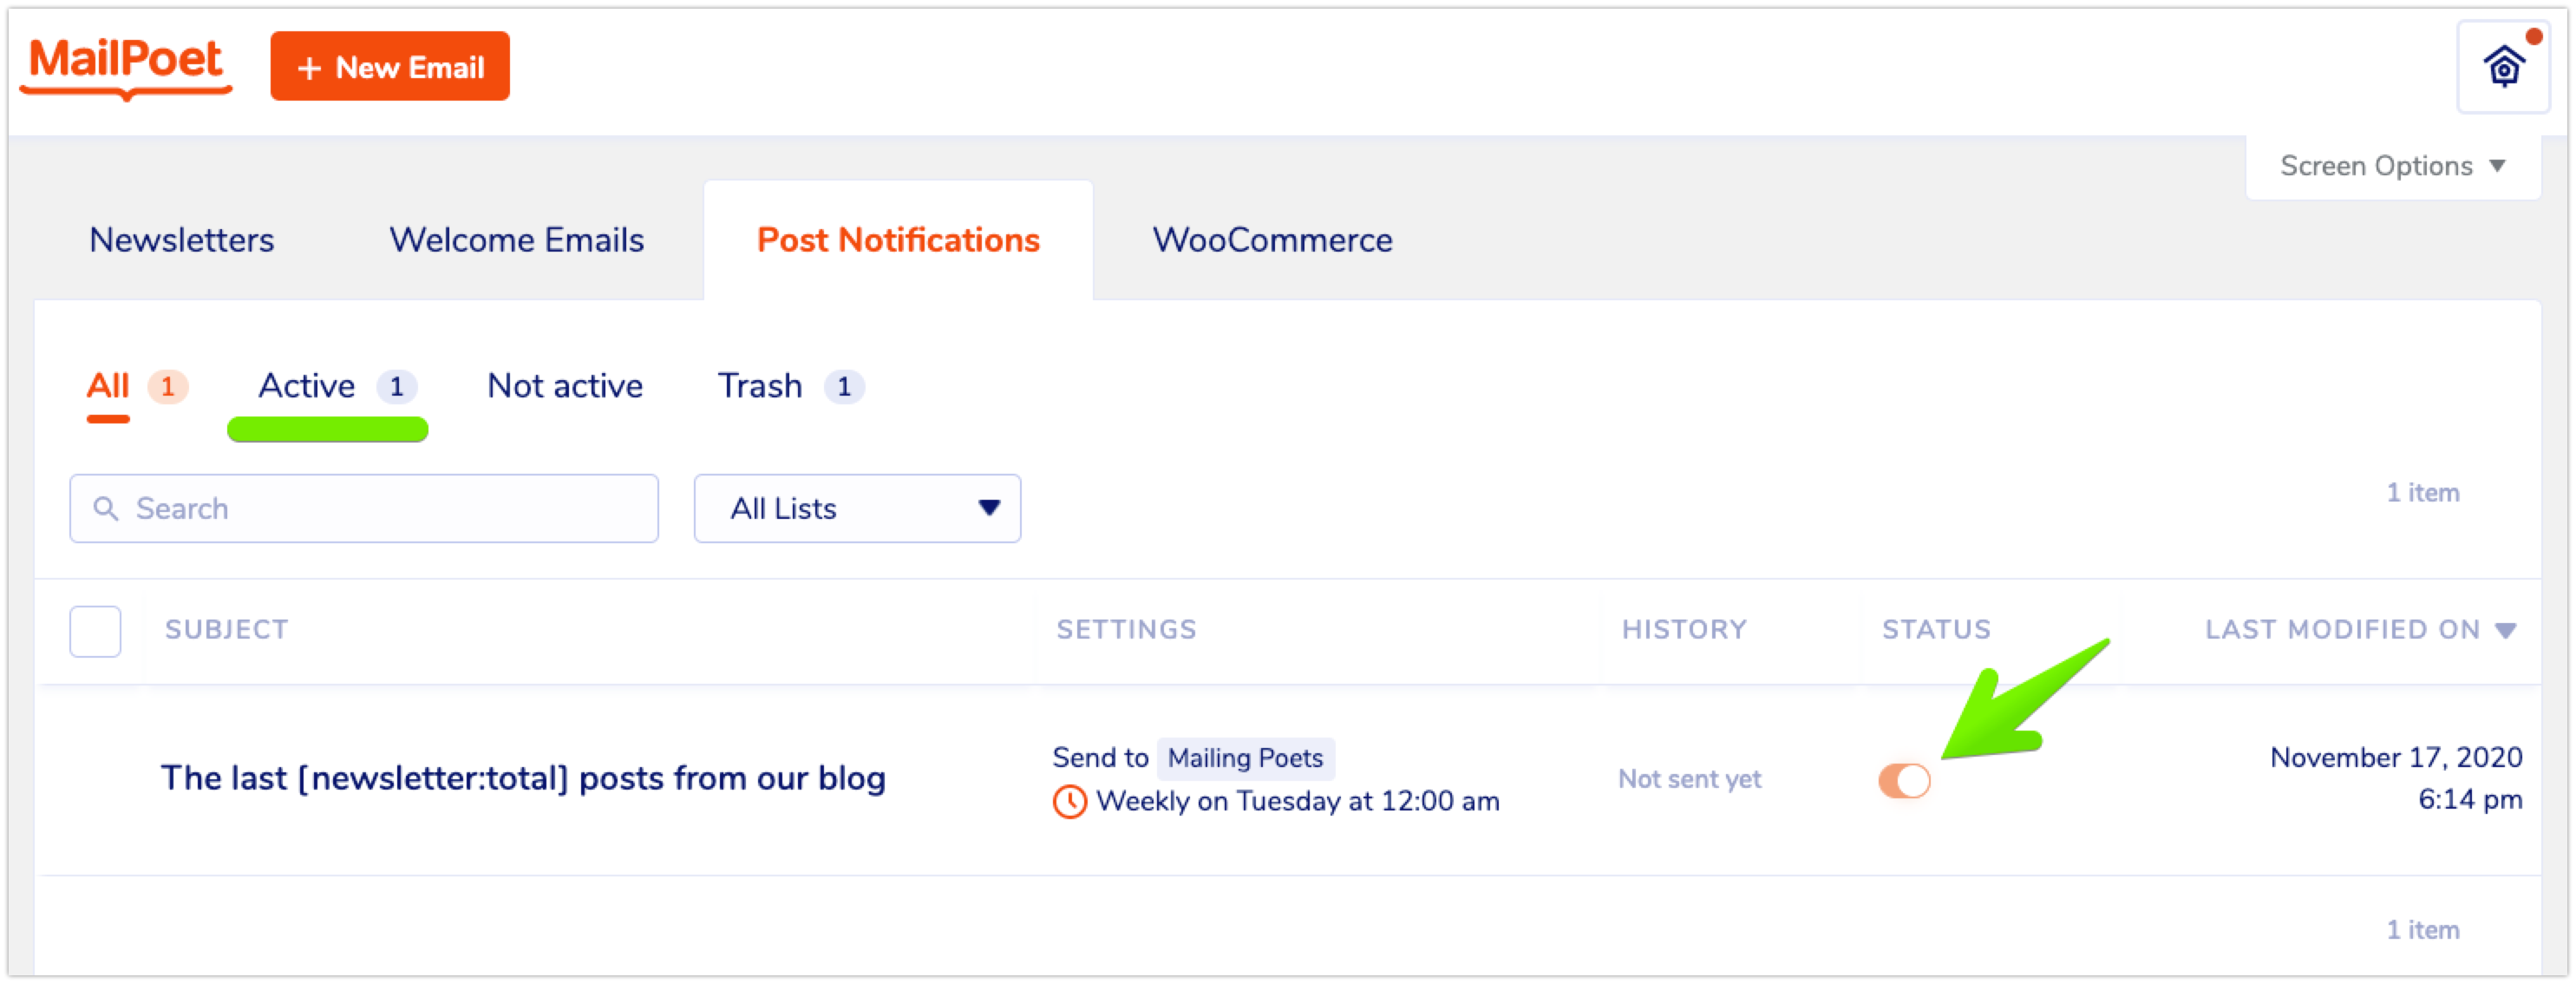
To make sure the Post Notification email is activated, you should go to MailPoet > Emails > Post Notifications tab and check if it’s listed as Active (status toggle should be orange):
Once you have sent the first email, you’ll see a “View history” button in the “History” column.
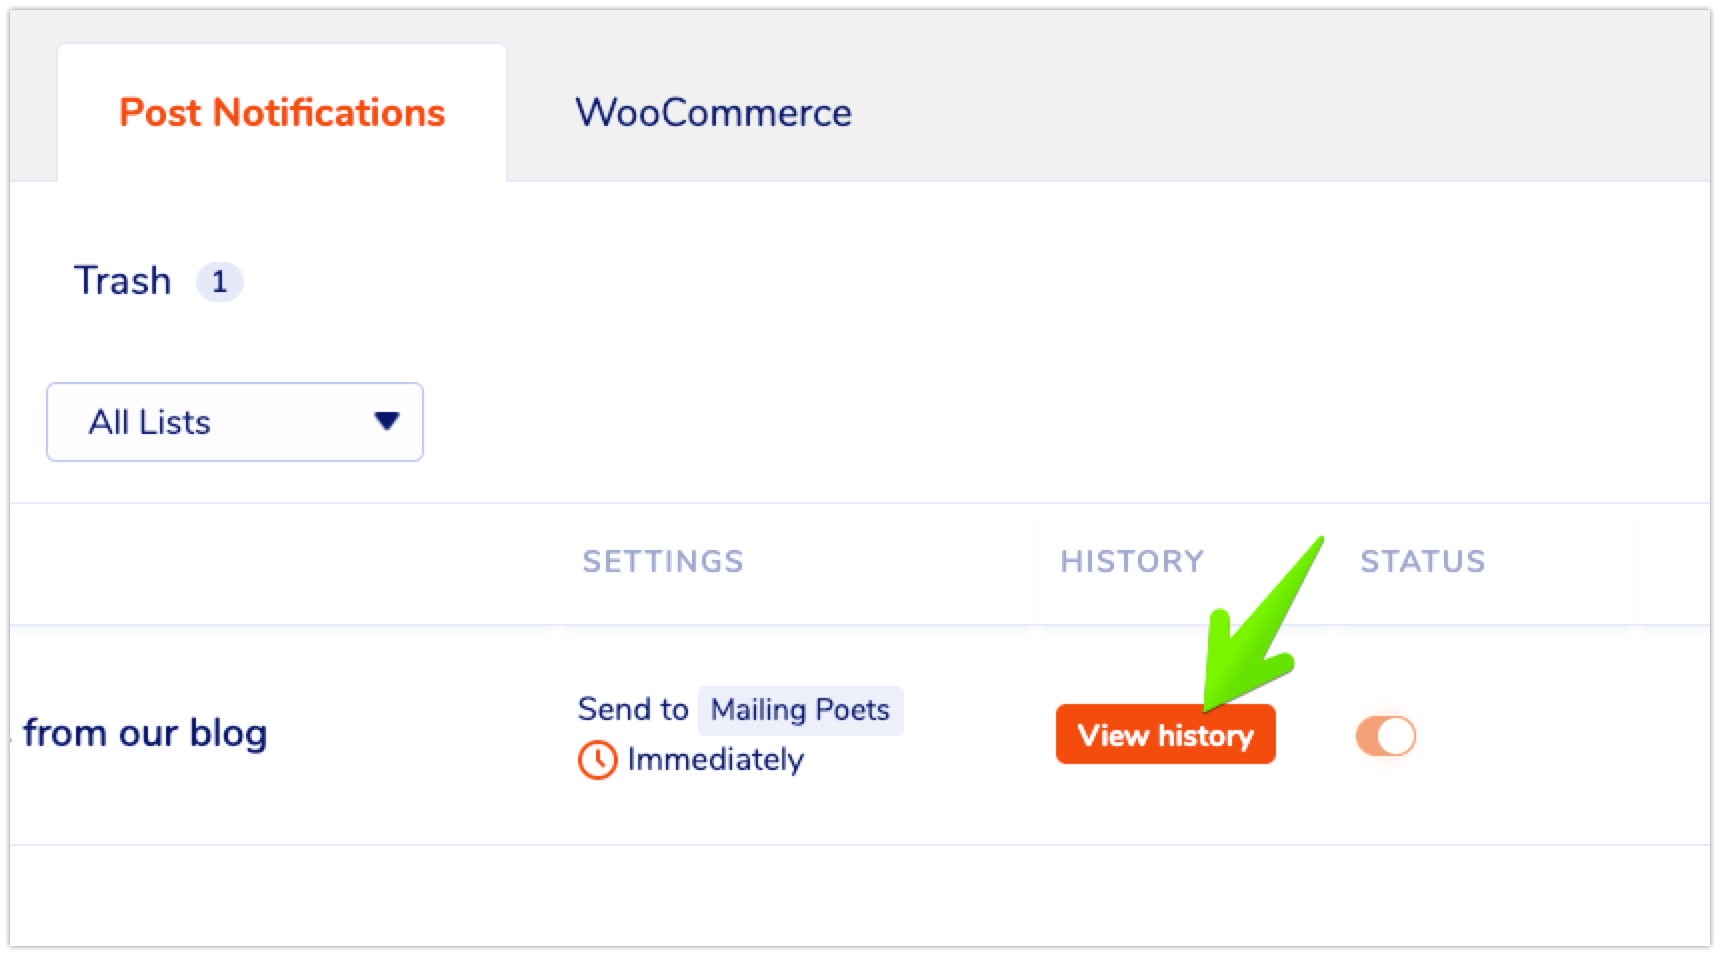
By clicking on it, you’ll have access to a list of all Post Notification emails sent and their individual data:
