After setting up your sending method on the Send With tab, we recommend that set up these basic options to keep MailPoet running smoothly.
Let’s go through each option on this page.
1. Default Sender
This option is used to specify the email headers, or the From and Reply-to addresses. These settings will apply to all of your email newsletters.
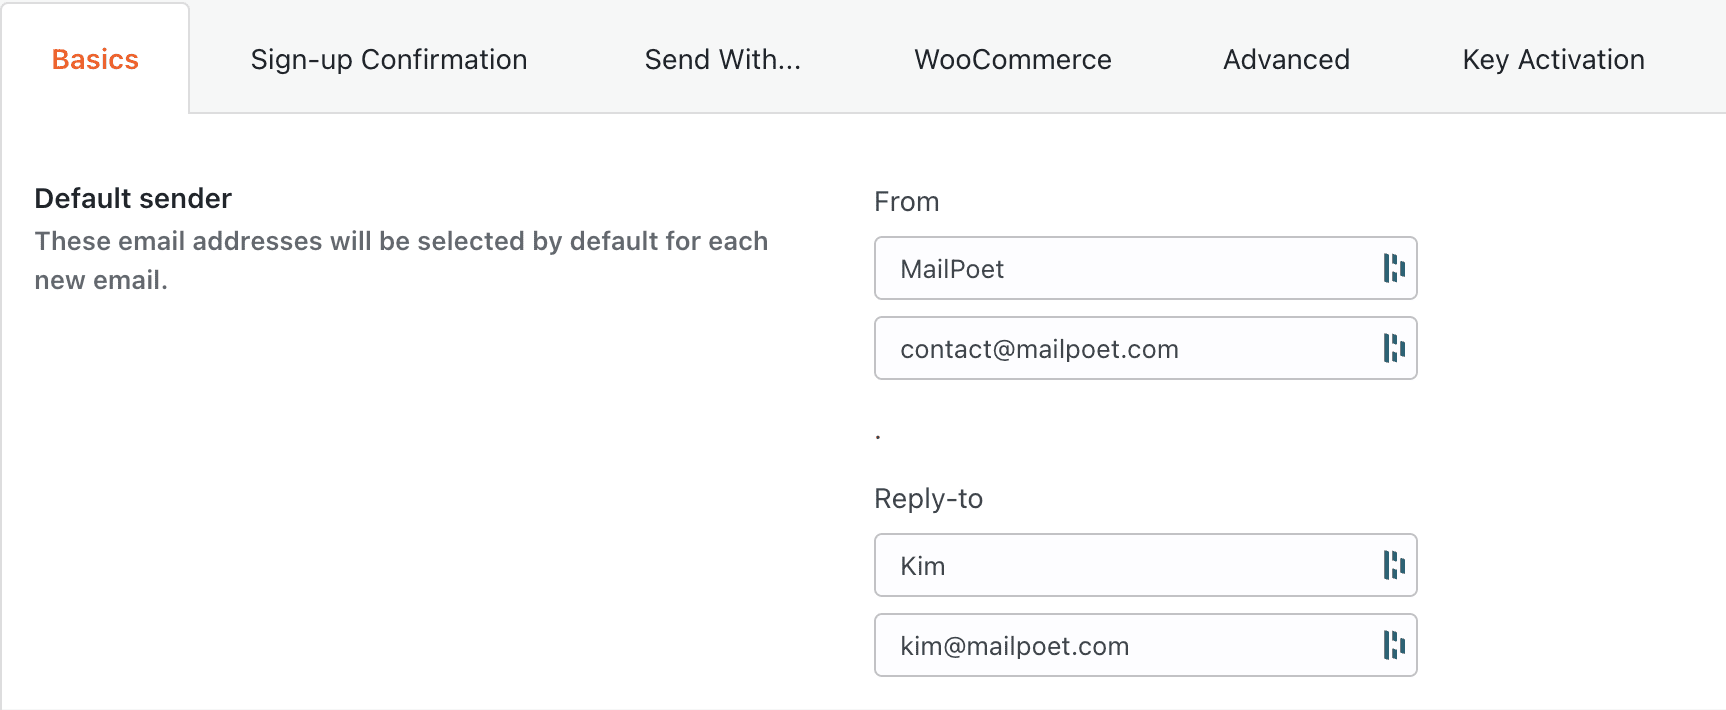
Inside the email, it will look like this:

2. Subscribe in Comments
This option allows you to add a checkbox to the comments form on your website. If enabled, users will be able to subscribe to your list(s) when leaving a comment.


Note that a subscriber won’t be added to the list and won’t get a confirmation email until a comment is approved by site’s admin.
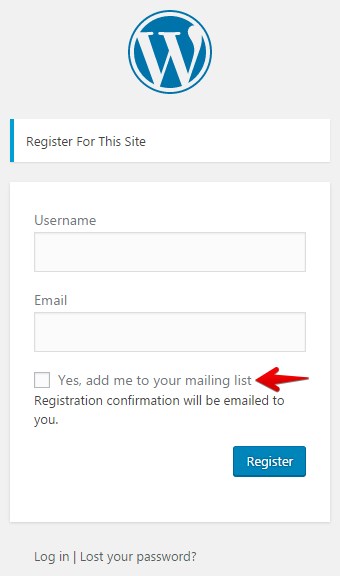
3. Subscribe in Registration Form
This option is similar to the Subscribe in Comments option above. The difference is that this option adds a checkbox to the Registration page of your WordPress site, which is usually at this URL: http://example.com/wp-login.php?action=register
This option is only available if you allow new registrations on your website. You can modify this setting on the WordPress > Settings > General page on your sidebar.

4. Manage Subscription Page and Unsubscribe Page
We explain these two options in more details here:
The Manage Subscription page settings also include a style selector that lets you choose between Modern and Classic page layouts. New installations default to Modern. Existing installations keep Classic. For full details on the differences, see The Manage Subscription Page.
5. Archive Page Shortcode
This option allows you to create an archive of your past newsletters. Simply copy this shortcode and paste it on to a WordPress page to create the archive.
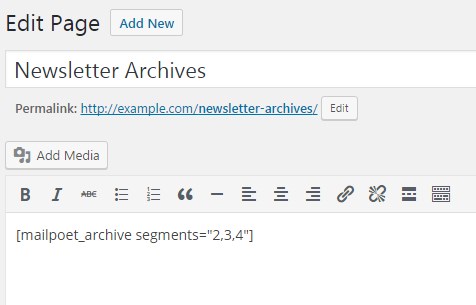
The result will look like this:

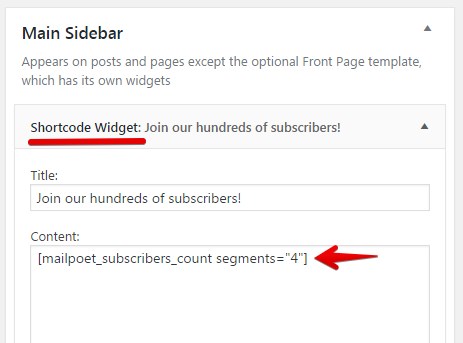
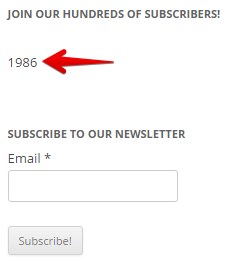
6. Shortcode to Display Total Number of Subscribers
Want to show how many subscribers you have? Just use this shortcode in a widget (we recommend the Shortcode Widget plugin) or on a page to display the total subscribers the chosen lists: