The email designer is the most important part of MailPoet. You’ll probably spend most of your time using it.

Quick Links
The editor
There are basically two things you can do in the email editor:
- Drag and drop objects created from the sidebar to your editor;
- Perform actions (edit settings, delete, duplicate or move) on each object (i.e.: a text block, image, button, etc.) or layout (i.e.: two columns) that this object is inside.
In the image below, the light blue box has a lateral tab with the options and actions related to the one-column layout block. You can check its settings, delete, duplicate, or move it.
The dark blue box has a top tab with the actions for the image (in our example, the MailPoet logo image), so you can delete, duplicate, or move it.

Sidebar options
In the right sidebar, you’ll find four menu items that will help you customize your newsletter:
- Content: add buttons, widgets, and other content to your newsletter.
- Columns: add pre-created columns to your newsletter.
- Styles: change your global newsletter styles.
- Preview: view a preview of your newsletter or send a preview via email to yourself.
The Content Panel
All of these tools are drag-and-drop. That means you simply have to grab one and drag into a layout block in the editor to the left.
1. Text
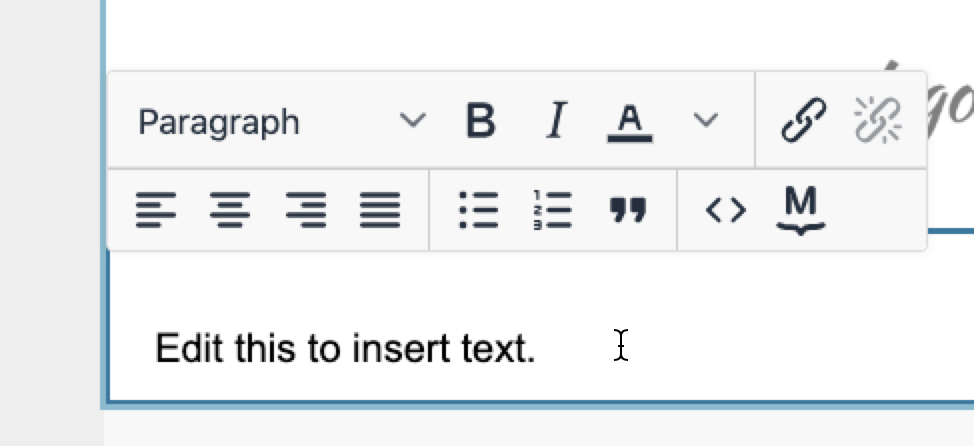
This tool allows you to add text to your newsletter. It’s as simple as that! You can customize the text in many ways:
- Apply the same styles to all paragraph text or all headers
- Make the text bold or italic
- Change the text color
- Add or remove a hyperlink
- Align the text to the left, right, center, or make it justified
- Use a bullet or numbered list
- Add quoted text
- Add newsletter shortcodes
- Directly modify the HTML of the text block

2. Image
This tool lets you add images to your newsletter. Pretty easy, eh? You can choose from images already uploaded to your WordPress site as well as directly upload new ones.
3. Button
This tool is used to create buttons. When you drag the button tool into your newsletter, you’ll need to click on the small gear icon to edit its settings. This icon is displayed when you hover your mouse over the button block.

After clicking the cog icon, the settings will be displayed:
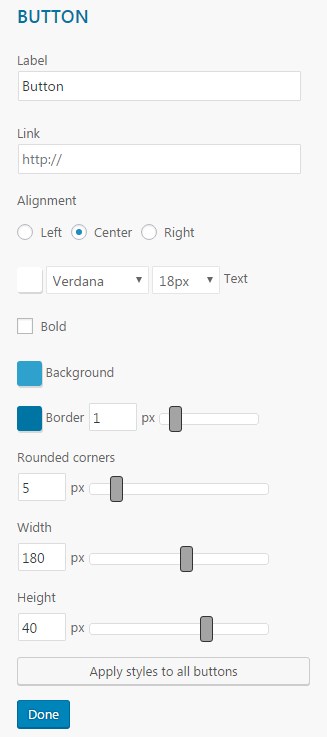
Most of the other tools contain an options panel similar to the one above.
4. Divider

The divider is useful to separate content blocks inside your newsletter. Use as many dividers as you like! (Just don’t divide by zero.)
In the new version of the Newsletter Designer, you can also increase the top and bottom margin of the divider, relative to the content above and below it. Simply hover over the divider block to see the ruler then drag up or down to change the margin value in pixels:
5. Spacer
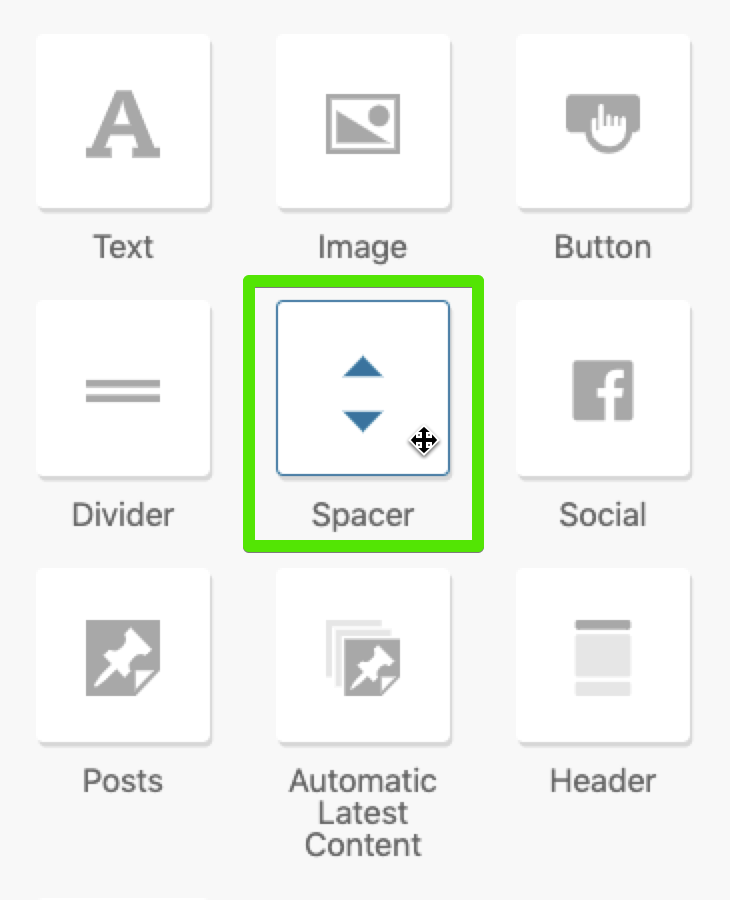
The spacer works just like the divider. The only difference is the lack of a visible image (there is no visible divider bar). It is useful for adding empty spaces or margins between your newsletter content. You can increase the height of the spacer by hovering over the spacer block to see the ruler, then drag up or down to change the height value in pixels.
By clicking on the cog icon, you can change the Background color of the Spacer block in the Settings:
6. Social
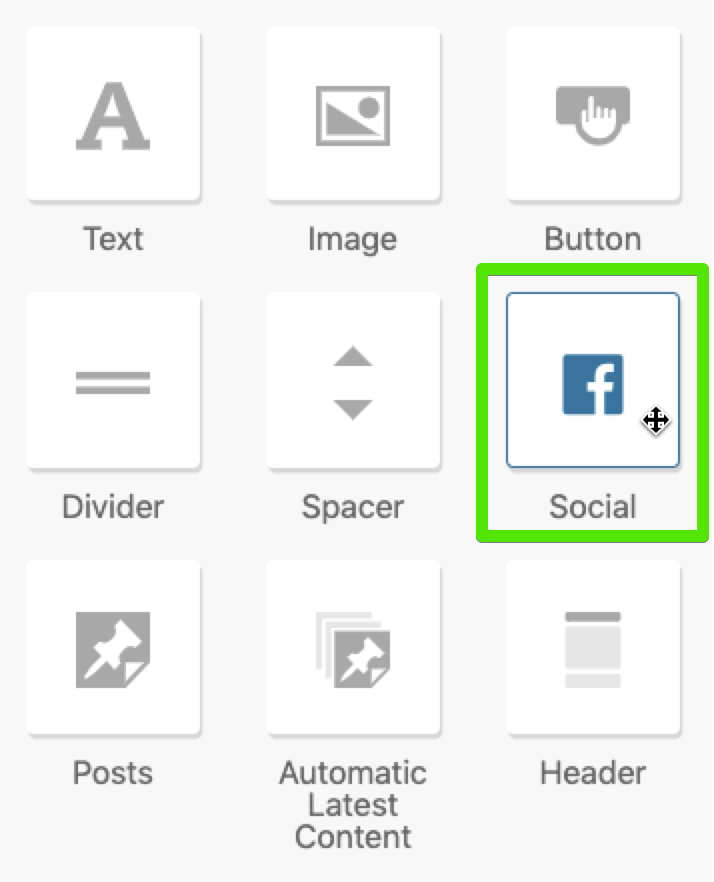
This tool has two main functions:
- Add links to your social media pages: Facebook, Twitter, Google Plus, YouTube, Instagram, Pinterest, Linkedin, Behance, Bluesky, Discord, GitHub, Gravatar, Mastodon, Medium, Patreon, Reddit, RSS, Spotify, Telegram, Threads, TikTok, Tumblr, Twitch, Viemo, WhatsApp, WordPress.
- Add a link to your website or a mailto: link
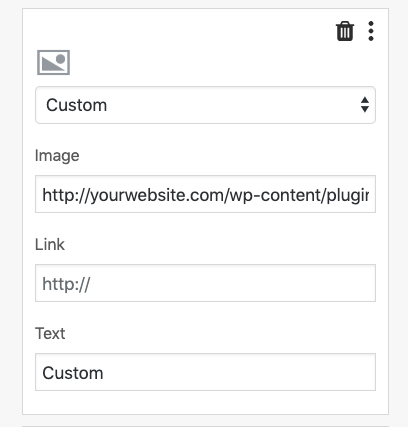
Custom Social Icon
Can’t find your favorite social network among the pre-existing options? Not a problem! You can add your own custom image from the Tool Settings panel:
7. Posts
With this tool, you can easily add your WordPress Posts, Pages or Custom Post Types to your newsletter. When you drag the tool into the editor, the settings panel will reveal the available options:
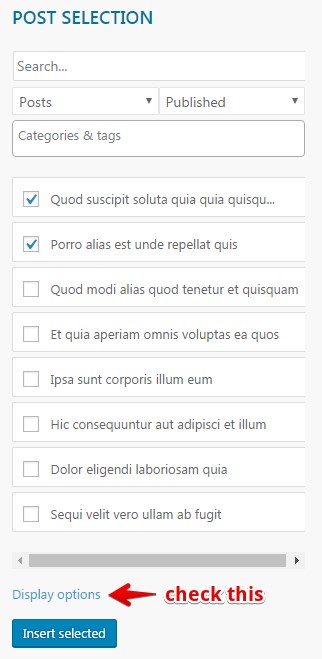
Simply select the Posts that you want to insert and click the Insert selected button. Don’t forget to check all the existing Display options to modify how your posts are displayed.
8. Automatic Latest Content
This tool is nearly identical to the Post tool above. The primary difference is that this tool will automatically include your latest Posts in the newsletter without having to manually add them each time you want to send a new newsletter. This tool is very useful when creating a Post Notification campaign.
9. Header
This tool adds a link to the browser version of your newsletter:

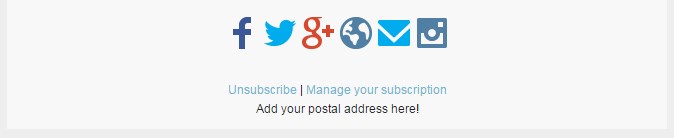
10. Footer
Like the header tool, the footer tool automatically adds the Unsubscribe and Manage Subscription links to your newsletter. The Unsubscribe link is mandatory when using the MailPoet Sending Service.
If you don’t add the Unsubscribe link to the editor, you will see the message below and you’ll be unable to progress to the next step of the newsletter creation process:

11. Dynamic Products
This widget is available when WooCommerce is installed and active on your site. Unlike the Products widget, which lets you manually select specific products, the Dynamic Products widget automatically displays products based on context when the email is sent. This makes it especially useful in automation emails.
When you drag the Dynamic Products widget into the editor and click on it to open its settings, you can choose from four product source types:
- Order products: Displays the products from the order that triggered the automation. Use this in order-related automation emails, such as review requests.
- Cross-sell products: Displays the cross-sell products linked to items in the triggering order. These are the products configured in the Linked Products tab of each WooCommerce product. If an order contains multiple products, the cross-sells from all of them are combined into a single list without duplicates. To use this option, you must first set up cross-sell products in your WooCommerce product settings.
- Abandoned cart products: Displays the products left in an abandoned cart. Use this in abandoned cart automation emails.
- Selected products: Lets you manually filter products by categories and tags, with the option to include or exclude specific terms.
You can also check the Exclude out-of-stock products option to prevent out-of-stock items from appearing in the email.

Display Options
Click Display options to expand additional settings for controlling how products appear in the email:
- Display type: Choose between Title only, Title and a short description, or Title and description.
- Title format: Select Heading 1, Heading 2, or Heading 3.
- Title alignment: Align the title to the Left, Center, or Right.
- Title as link: Choose whether to make the product title a clickable link to the product page.
- Product title position: Place the title Above the product or Above the product description.
- Product image position: Set to Centered, Left, Right, Alternate, or None.
- Image width: Choose Full width or Padded.
- Price: Display the price Below text, Above text, or hide it.
- “Buy now” text: Display as a Link or a Button. You can customize the link text or design a custom button.
- Divider: Choose whether to show a divider between products and customize its style.

Note: The Dynamic Products widget cannot be added to a 2 or 3-column layout. It will be added as a single column above or below a block. For the Order products, Cross-sell products, and Abandoned cart products options to display content, the email must be used within an automation that provides the relevant context (such as an order or abandoned cart trigger). In a preview or a standard newsletter, these options will show no products.
FAQ
Q: How do I adjust the email width? Can I make the email fill the page width?
A: It’s not currently possible to adjust the email width — the email content width is fixed at 660px. However, you can use different column widths within the content.
Q: Is it possible to create a Share button in the newsletter?
A: It’s not possible out of the box.
Q: How can we have our company logo showing next to the emails sent from us on Gmail.com?
A: It’s not possible to set a logo through MailPoet settings. You can set up a BIMI record instead.
Q: Can I create right-to-left emails?
A: If your WordPress site uses an RTL locale, newly rendered MailPoet emails are sent with RTL direction.
You must be logged in to post a comment.