When your subscribers click on the “Unsubscribe” link at the bottom of your newsletters, they will be directed to MailPoet’s default Confirmation page.
The Unsubscribe is a two-step process:
- 1
- Confirmation page: the first page displayed will ask the subscriber to confirm they want to be Unsubscribed from the list;
- 2
- Success page: the second step shows a confirmation that the subscriber has been successfully unsubscribed.
If you want to use custom pages instead of the default ones, here’s how you can do it.
Create a new page
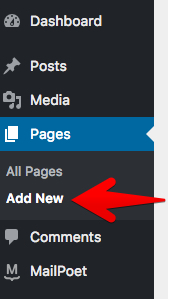
You can create new pages to be your custom Confirmation or Success page. Simply go to your WordPress Dashboard > Pages > Add New:
The Confirmation page must contain the shortcode [mailpoet_page]. You should include that shortcode on the Success page as well, unless you are adding your own content as described below.

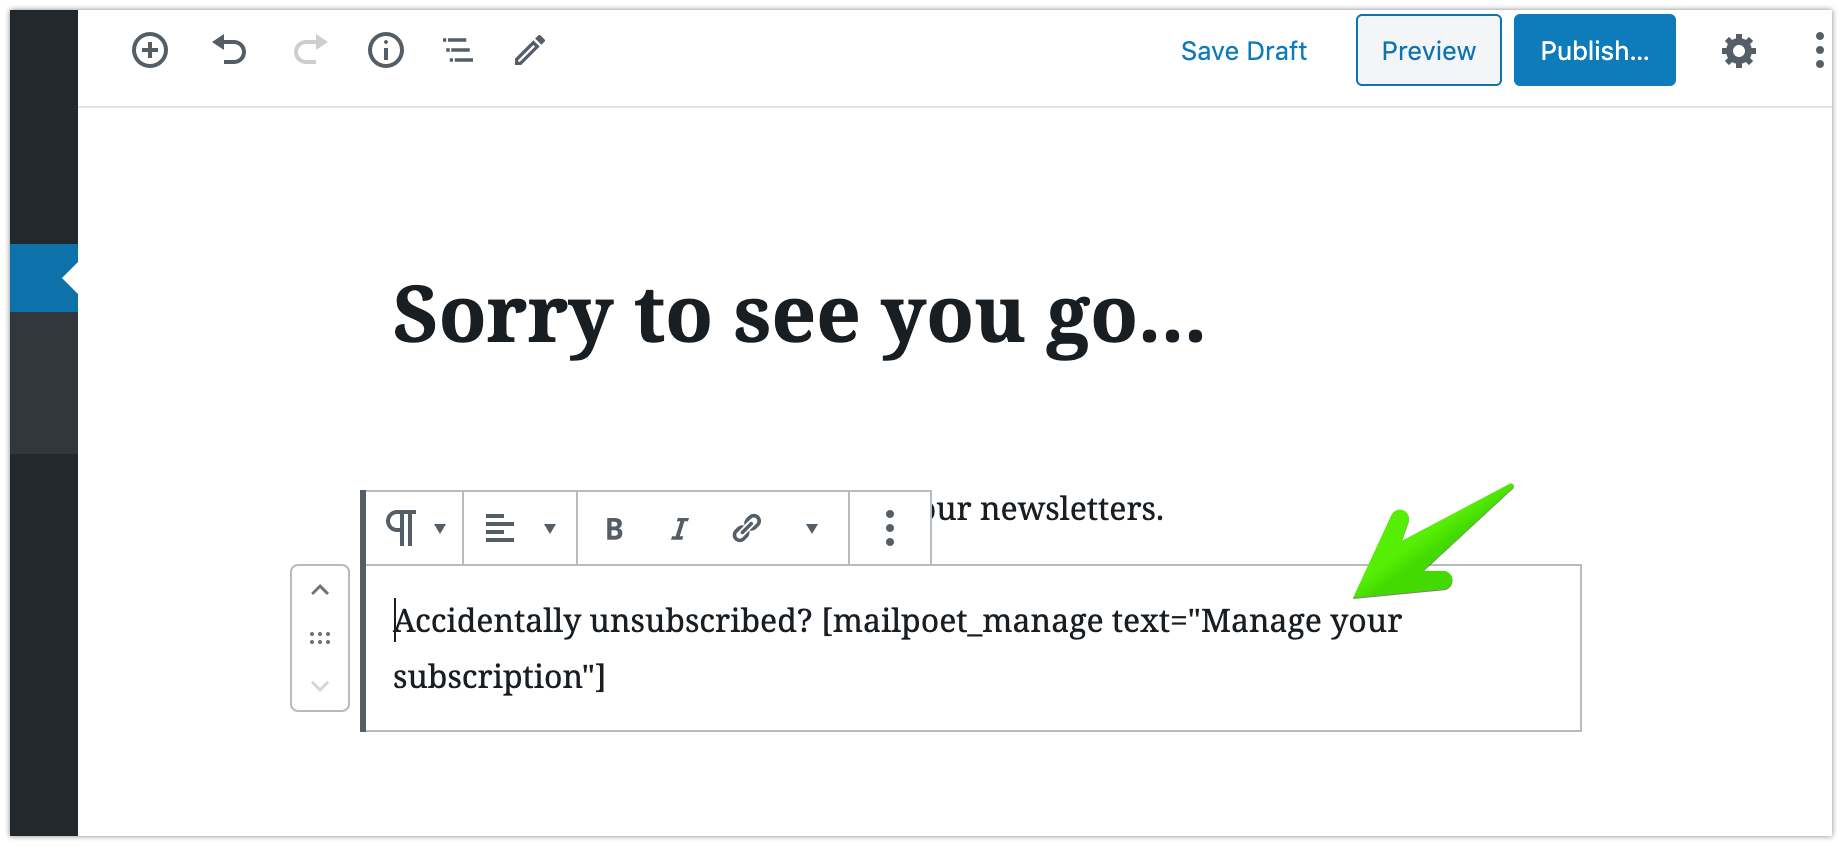
On the Success page, you can either use the [mailpoet_page] shortcode to add some default content, or you can exclude it and add your own custom content (or use a combination of both). The shortcode [mailpoet_manage text=”Manage your subscription”] can also be used on the Success page to add a link to the Manage Subscriptions page, in case the user accidentally unsubscribed and wants to manage their subscriptions. You can set the “Manage your subscription” text in that shortcode to any custom text you prefer.
There is also a helpful filter to further customize the Success page if you want to translate its text. (see the “Advanced: Filter to modify the text” section below)
Set up the custom pages
MailPoet > Settings > Basics in your dashboard. On the Basics tab, go to the Unsubscribe page section and select the custom Confirmation and Success pages created earlier from the drop-down menus. You can click on the Preview links to see what your custom Unsubscribe pages will look like.
To preview these custom pages, make sure to use the ‘Preview’ option provided in the MailPoet > Settings > Basics section (shown below). This method simulates the necessary conditions for the [mailpoet_page] shortcode to render as it would during the unsubscribe process. Alternatively, you can send yourself a test email, and test the Unsubscribe link from there.

Don’t forget to save your settings when you finish editing!
Advanced: Filter to modify the text
You can use the mailpoet_unsubscribe_confirmation_page filter to modify the default unsubscribe message.
From this:

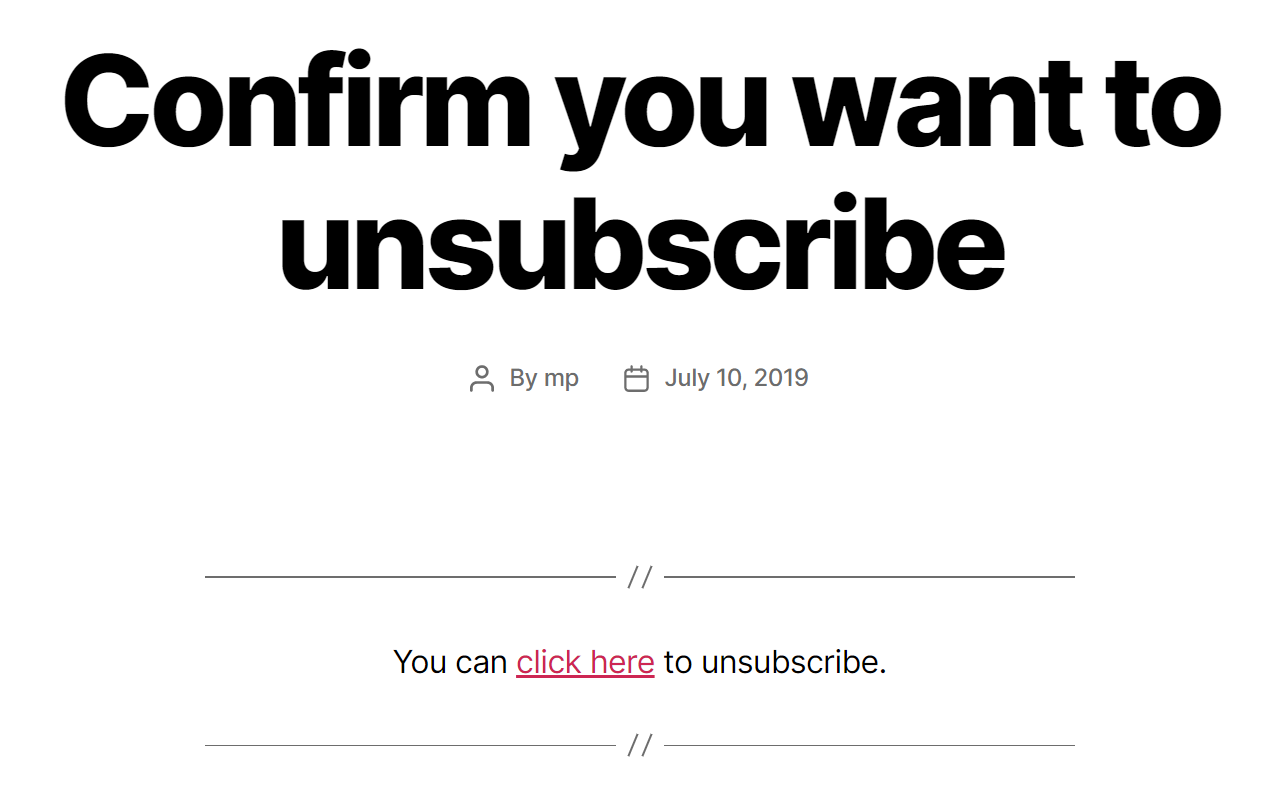
To a custom message like this:
 With this code:
add_filter( 'mailpoet_unsubscribe_confirmation_page', 'mp_modify_unsubscribe_confirmation_page', 10, 2);
function mp_modify_unsubscribe_confirmation_page( $HTML, $unsubscribeUrl ) {
	$HTML = '<hr>';
 	$HTML .= '<center>You can <a href="'.$unsubscribeUrl.'">click here</a> to unsubscribe.</center>';
 	$HTML .= '<hr>';
    return $HTML;
}
We always recommend you add these code snippets to your website using the plugin: Code Snippets.