You can personalise your newsletters by including personalisation tags, which dynamically display details about your subscribers, your content, specific dates, and more.
They work in two different places:
- In the Subject line of your newsletter,
- In the Email Editor.
Quick link: See the full list of available shortcodes
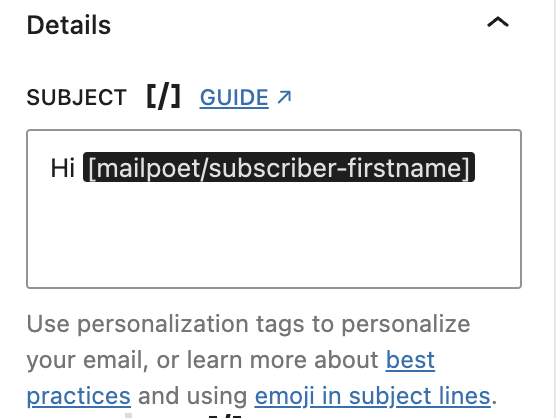
In the Subject line
Simply add the shortcode of your choice in the Subject line of your newsletter:
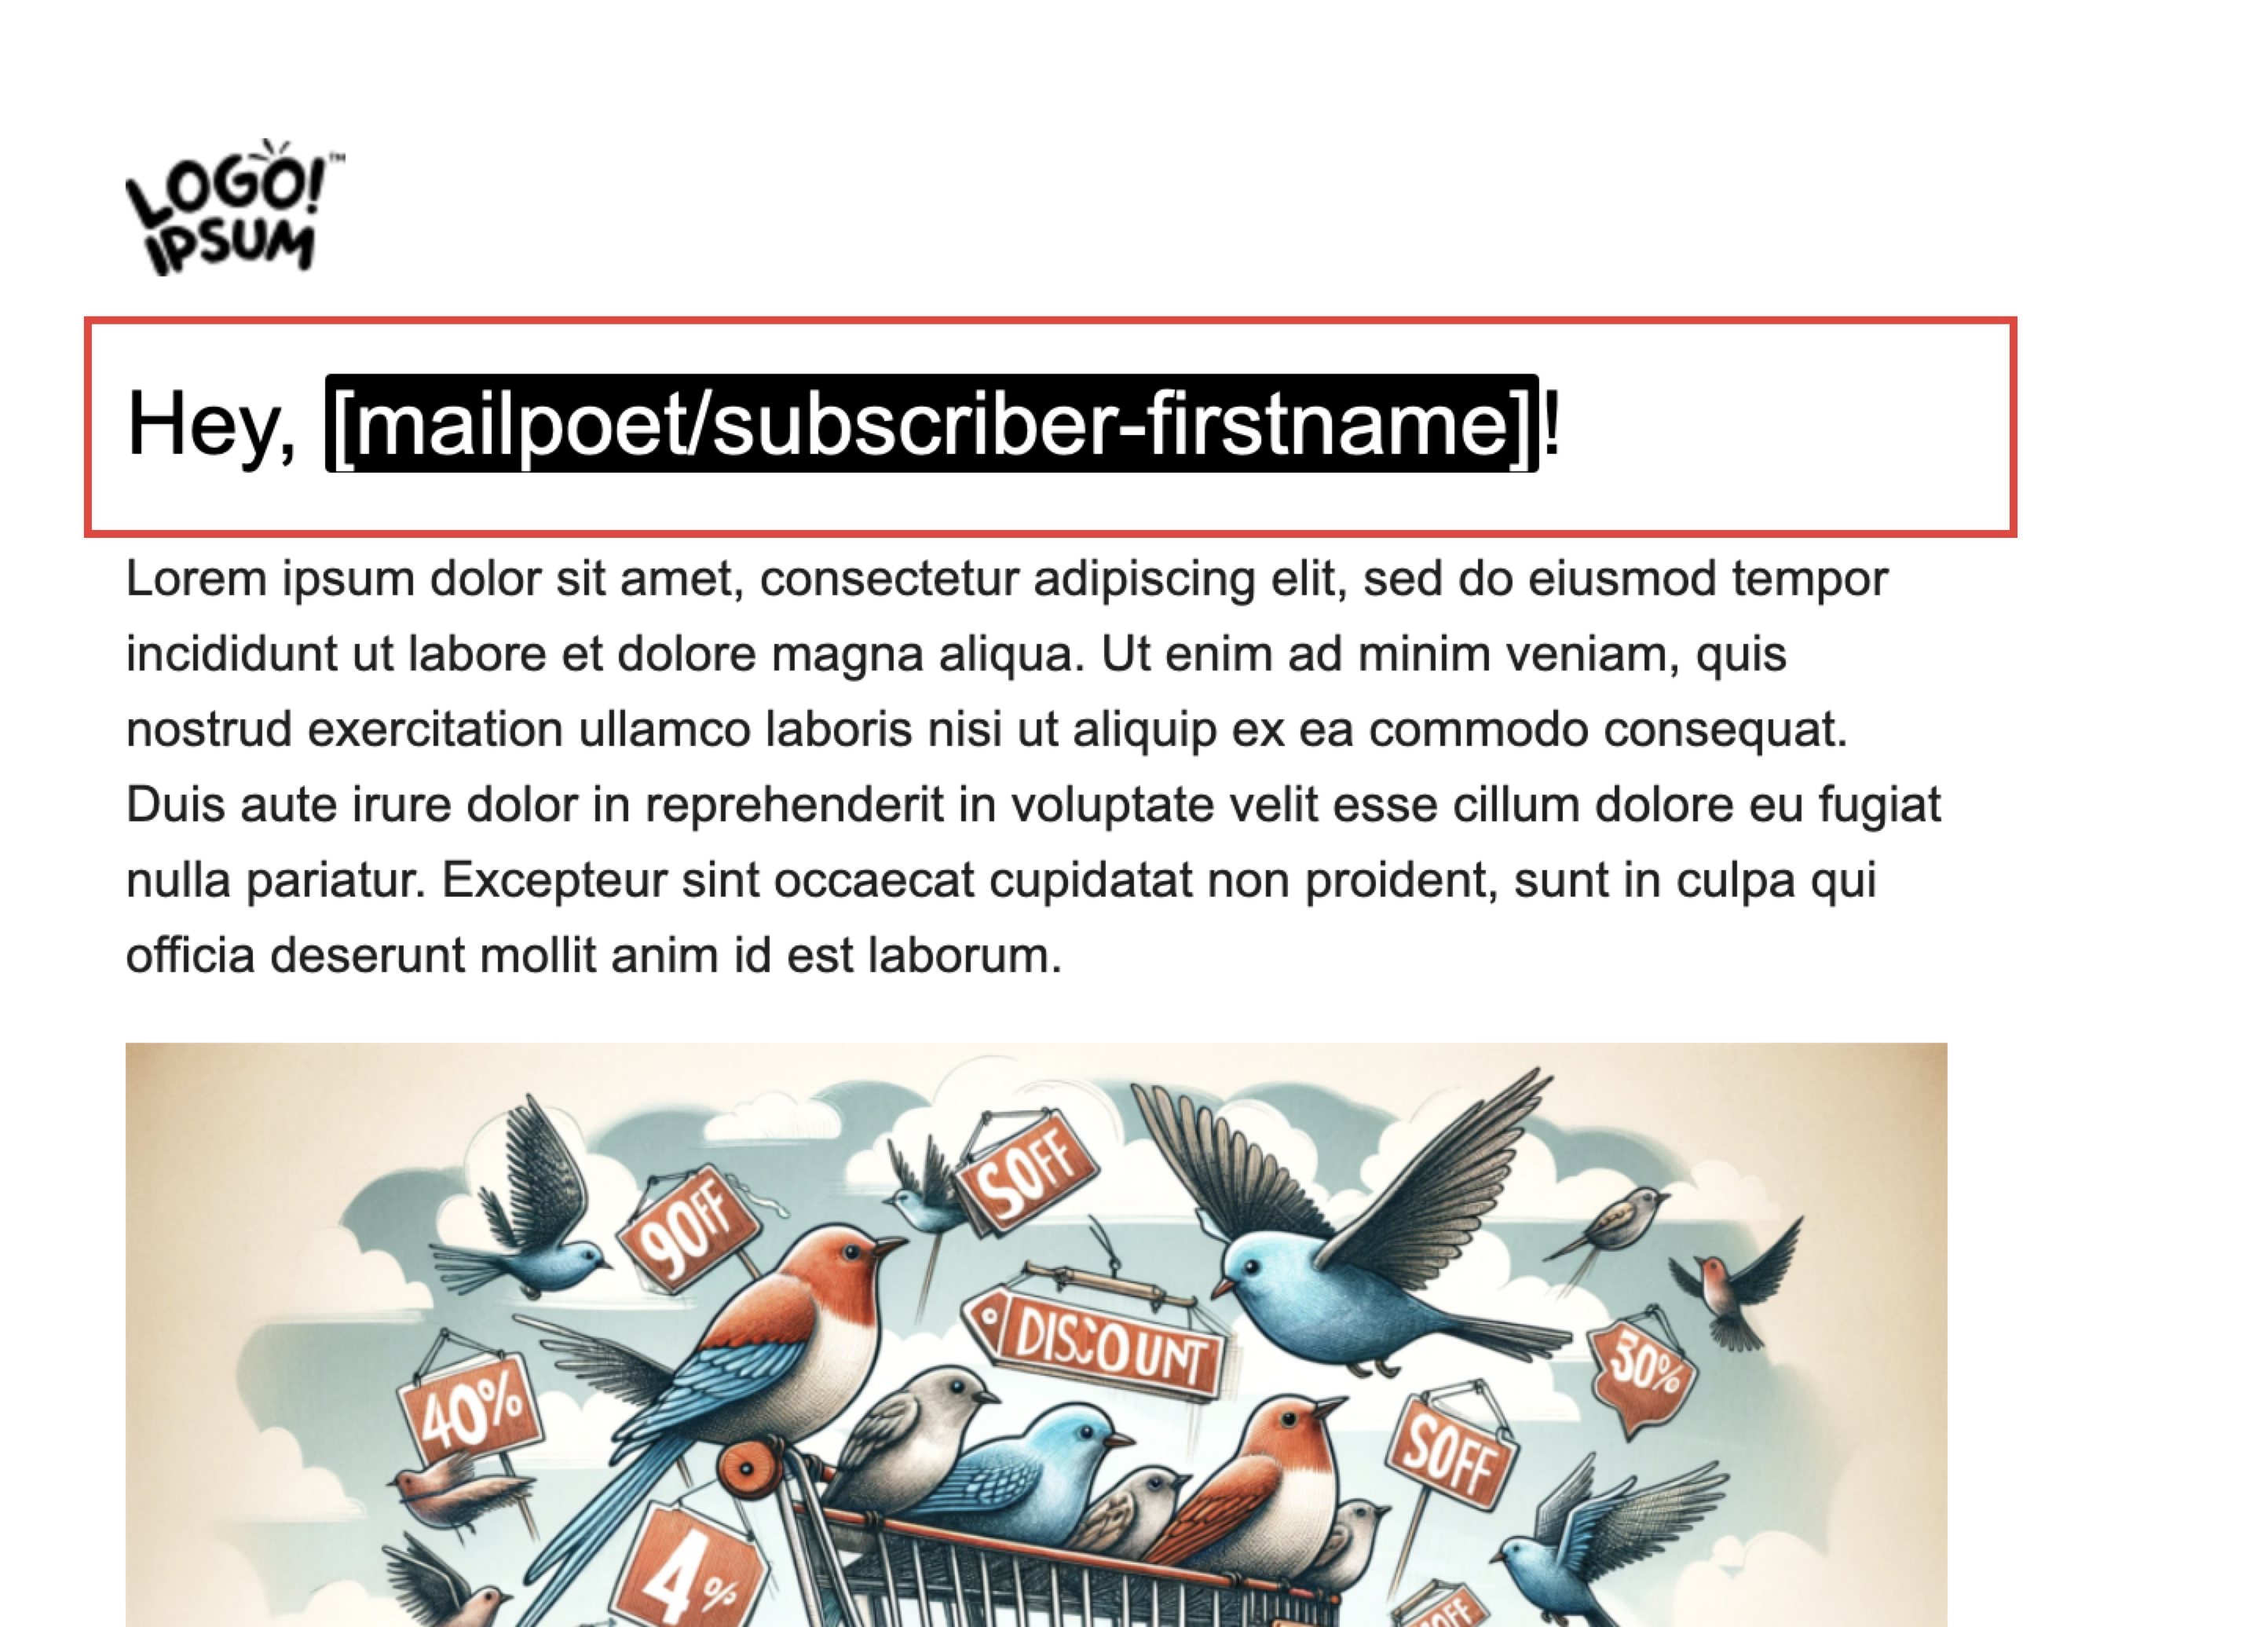
In the Email Editor
To add a personalization tag or a default text (where the information is missing), click on any text block inside the newsletter designer and use the following button:

You will see a full list of available personalization tags. Pick the one you want to be added to your text block and click “Insert”.
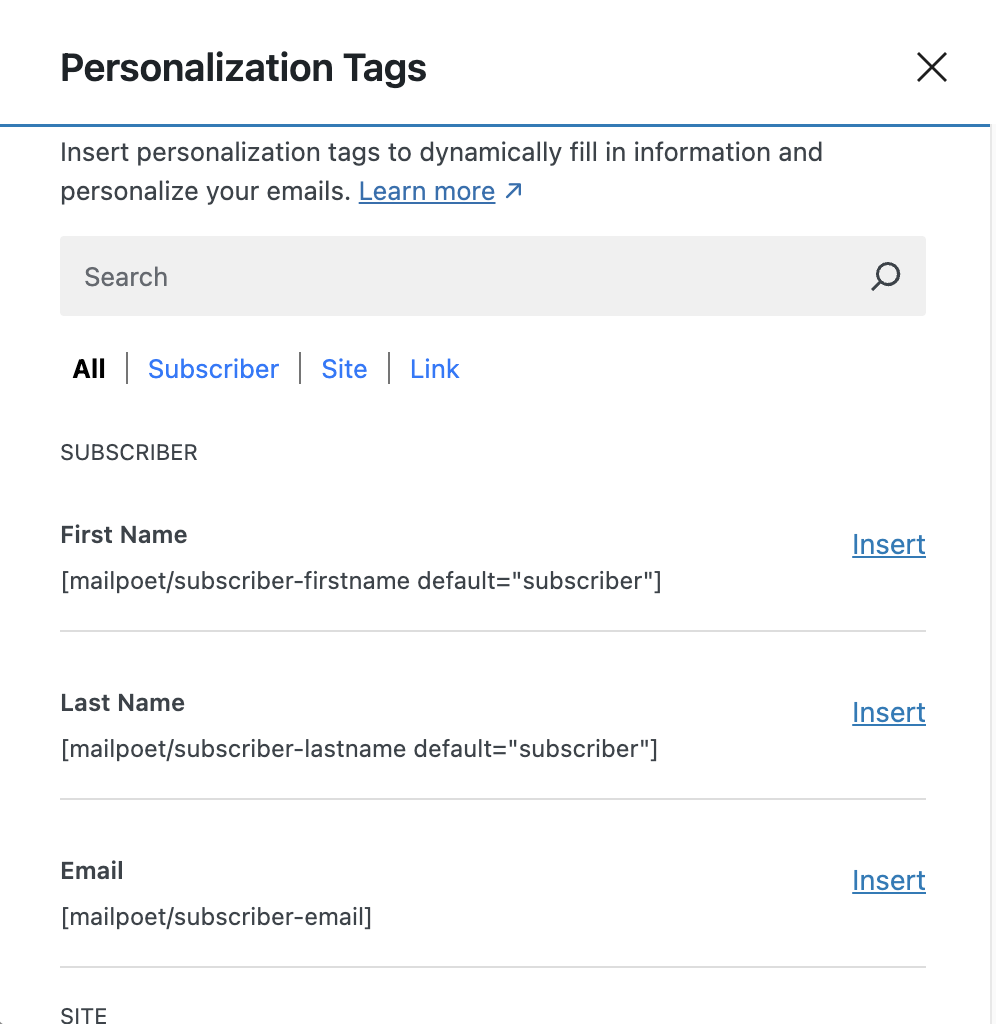
The text after the parameter “default” will be used when the first name is not found on the subscriber’s records. By using word “subscriber” it will display “Hey, subscriber!”
Full list of available personalization tags
Subscriber:
- First Name: [mailpoet/subscriber-firstname default=”subscriber”]
- Last Name: [mailpoet/subscriber-lastname default=”subscriber”]
- Email: [mailpoet/subscriber-email]
Site:
- Title: [mailpoet/site-title]
- Homepage URL: [mailpoet/site-homepage-url]
Links (only available for the newsletter editor):
- Unsubscribe: [mailpoet/subscription-unsubscribe-url]
- Manage subscription: [mailpoet/subscription-manage-url]
- View in Browser: [mailpoet/newsletter-view-in-browser-url]
WooCommerce (available in automation emails with an order trigger):
- Order Review URL: [woocommerce/order-review-url] — Generates a direct link to the WooCommerce Review Order page for the customer’s specific order. Requires WooCommerce 10.8.0 or later with the “Customer review request” feature enabled. See How to Send a Post-Purchase Review Request Email for setup instructions.